Custom Code Editor

The Custom Code Editor allows you to integrate functions built with LiveCode into your app. You might want to do that in the following scenarios:
- You’re porting a LiveCode-based application to Appli and want to reuse some of the code you already have.
- You need features that are available in LiveCode script but are not yet available through Appli’s low-code actions.
Whatever your reason is, our LiveCode integration is easy to use and provides a straight forward path towards building more complex applications. If you want to jump in right away and use it to build a sample app, check out the LiveCode Integration Tutorial or read on to learn how the editor works.
This chapter assumes familiarity with LiveCode. If you don’t know LiveCode, you can learn more about it through their guides.
Editor interface
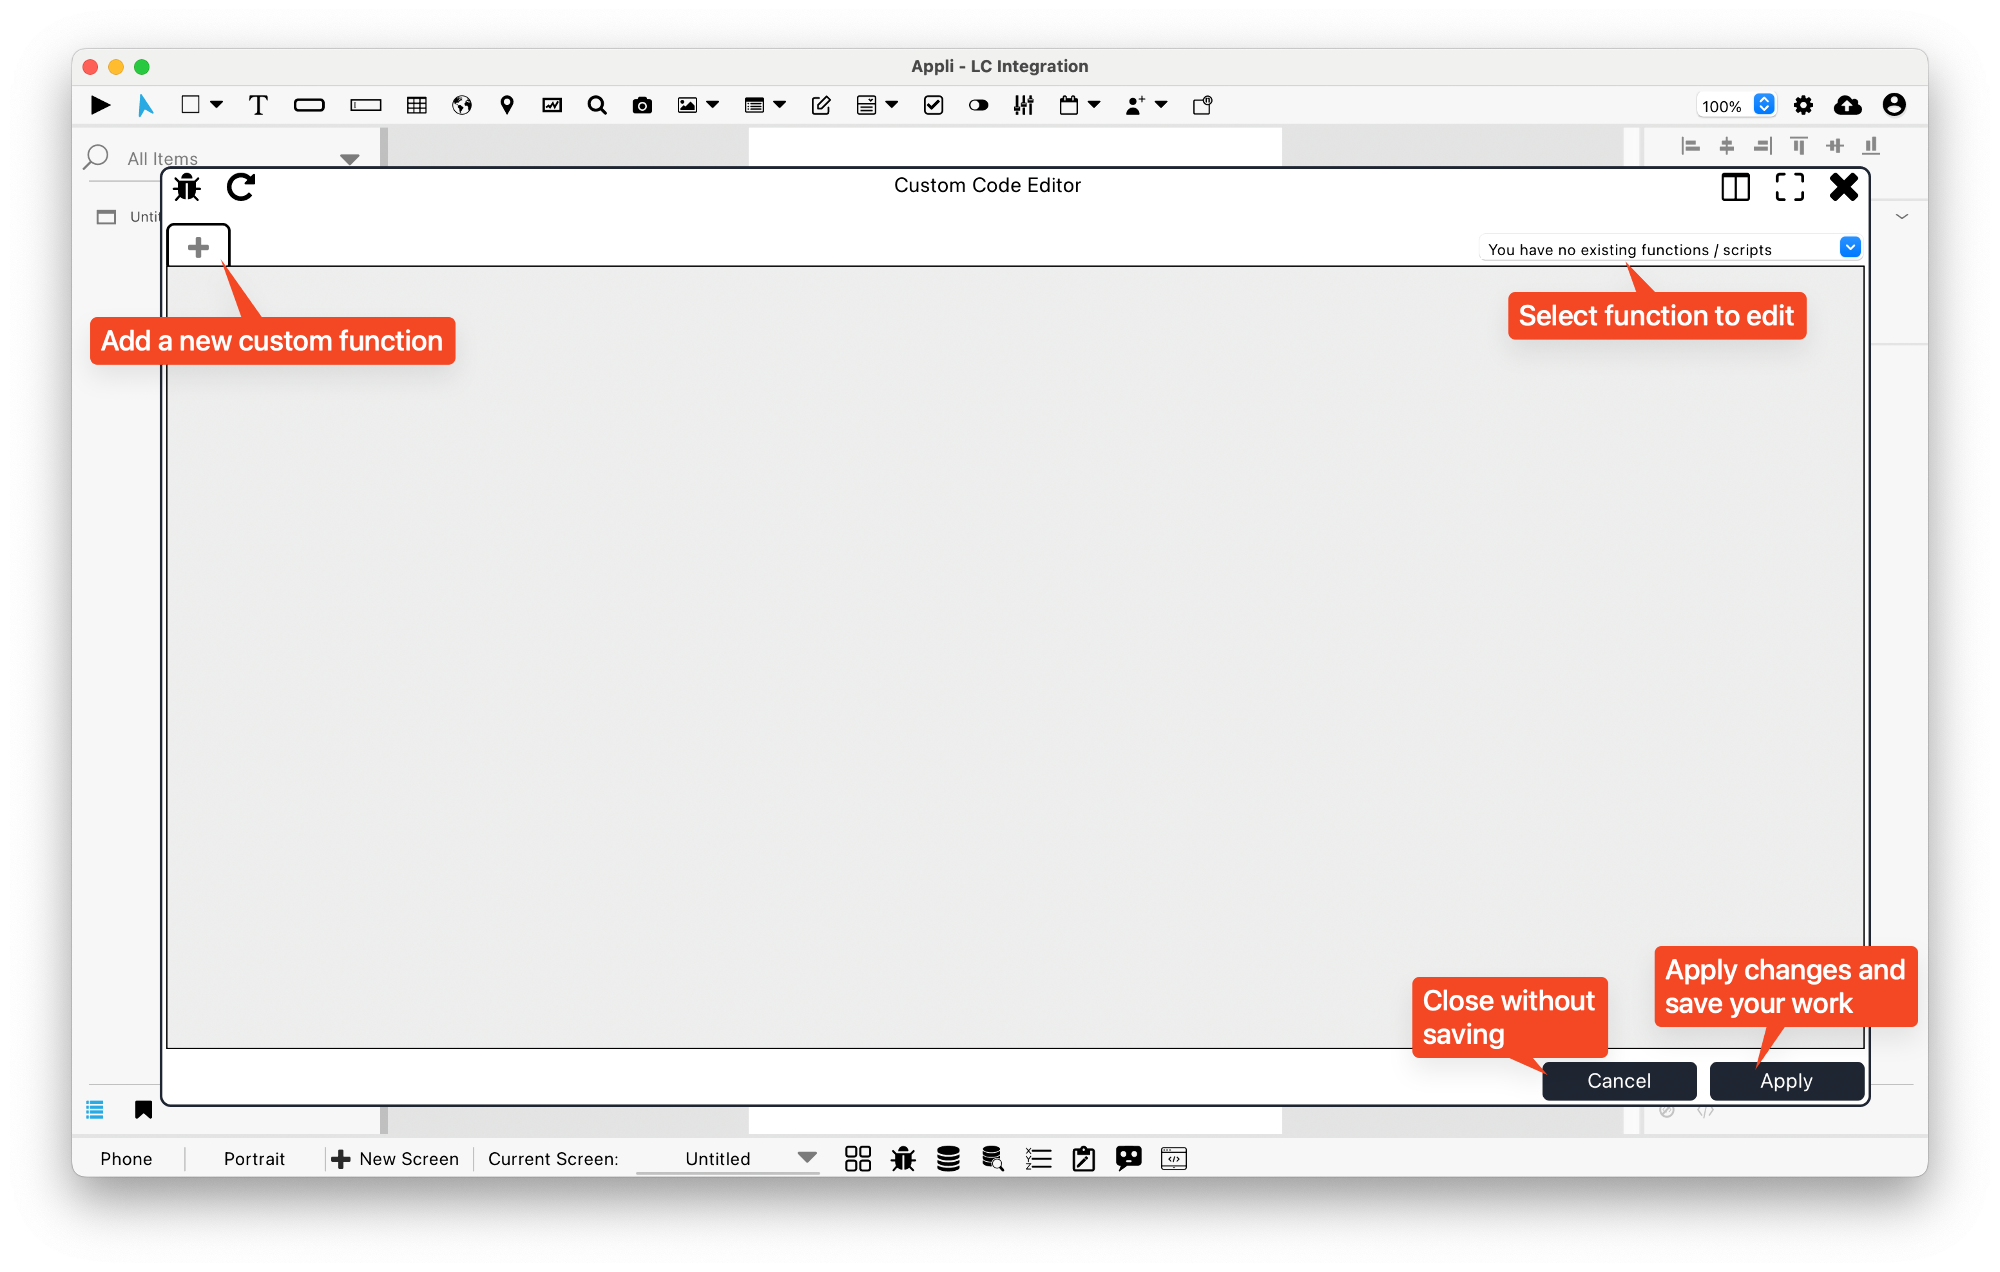
The editor uses a tabbed interface and will display one function per tab. If the app has no custom code, the interface opens with a plus button in the tab bar to add a new function. On the bottom right of the editor, buttons to cancel changes or apply changes allows the developer to close the editor and save or discard their work.

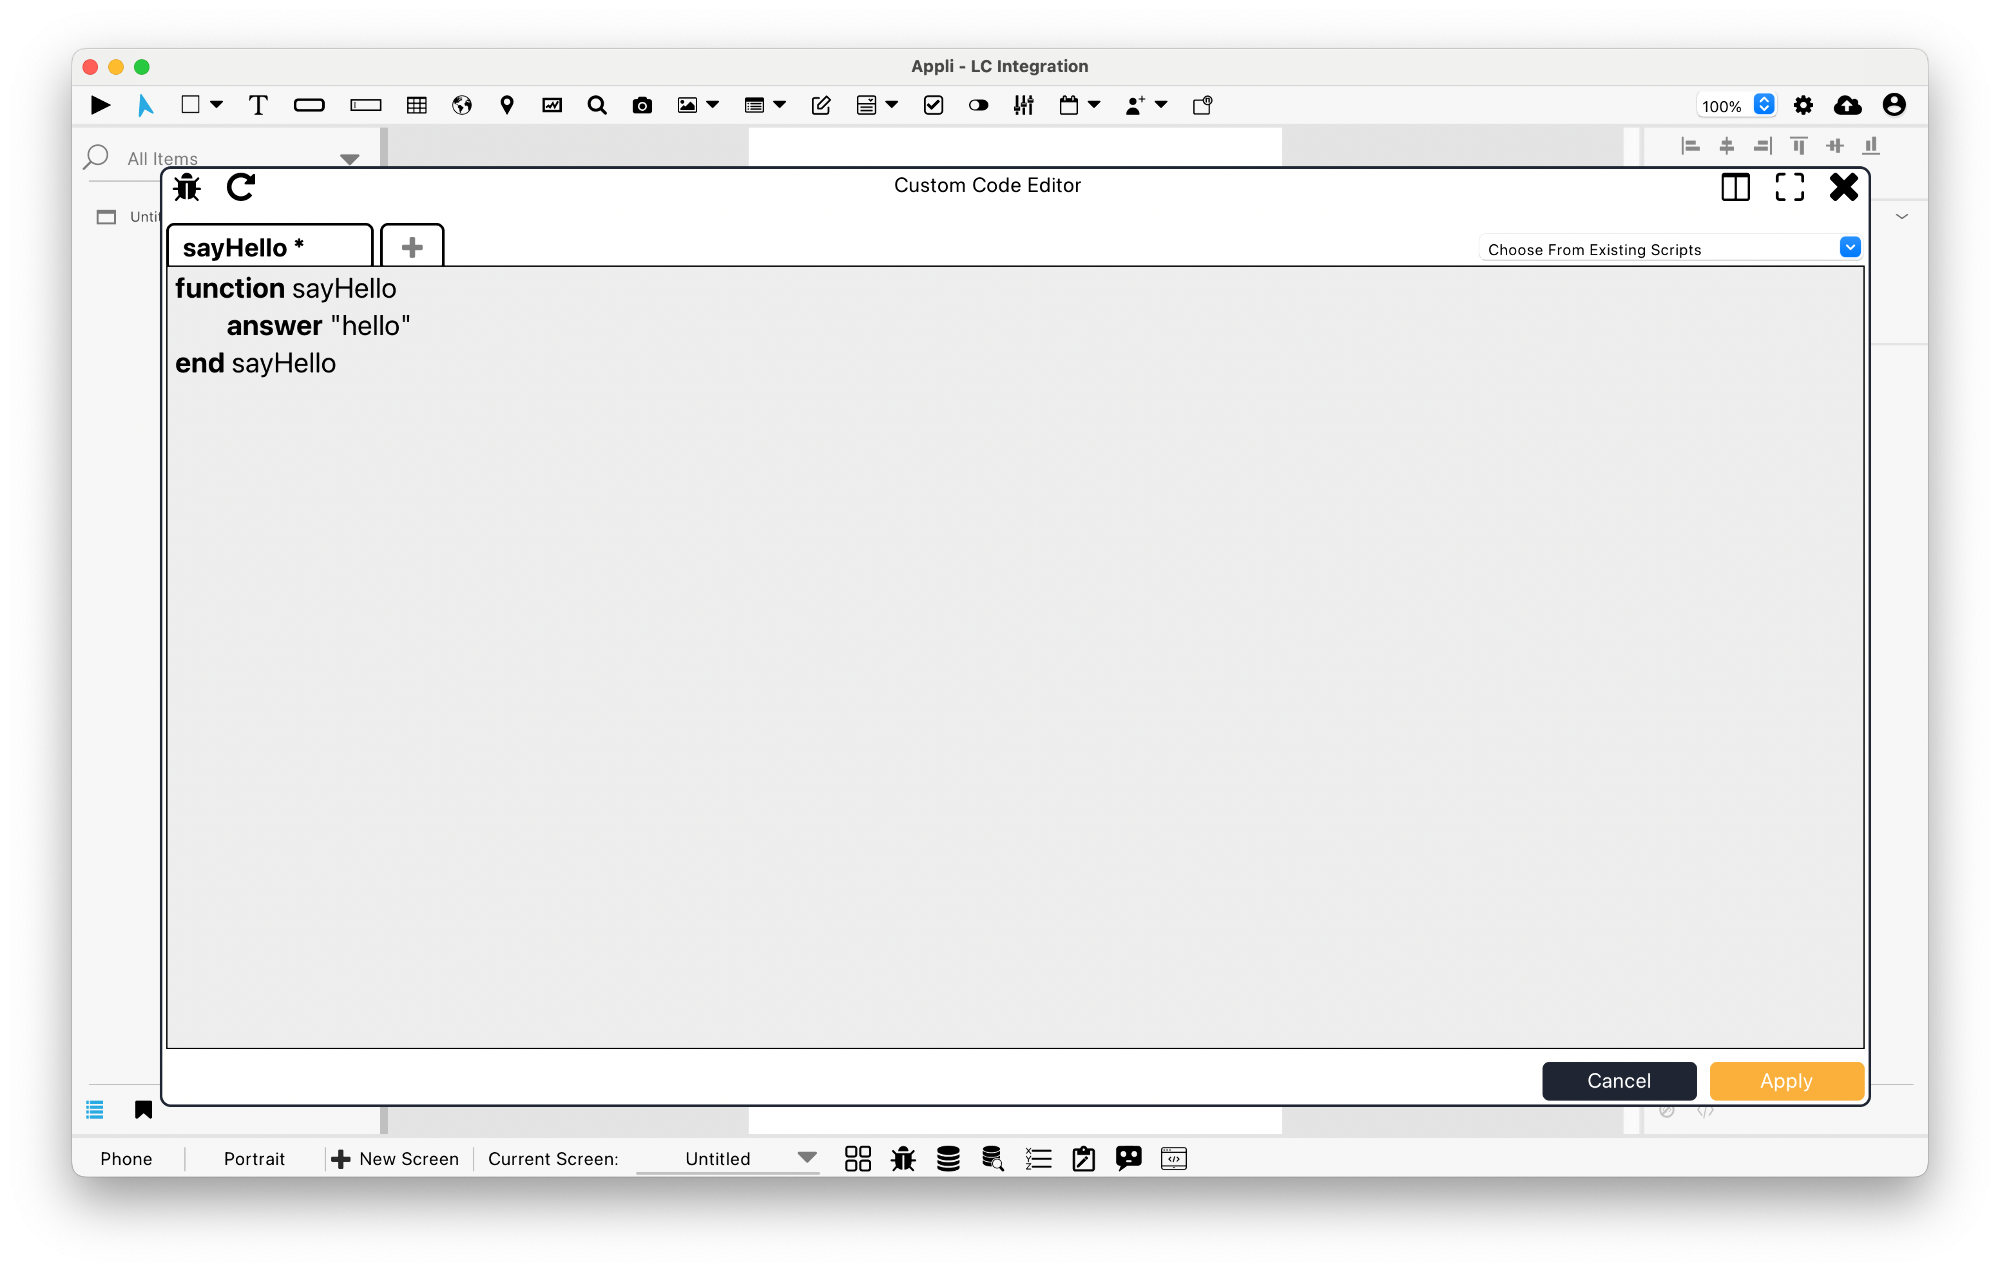
When you click the plus button, Appli asks for a name for the new function and creates a tab for it. The tab starts empty and you can add a new function written in LiveCode with whatever name you want, but we recommend using the same name as the one you set for the tab. Clicking Apply will save your work. When you open the Custom Code Editor, it remembers which tabs were open. If you want to access a function you created that has no open tab, you can select it from the dropbox on the right side of the tab bar.

Custom Code Action
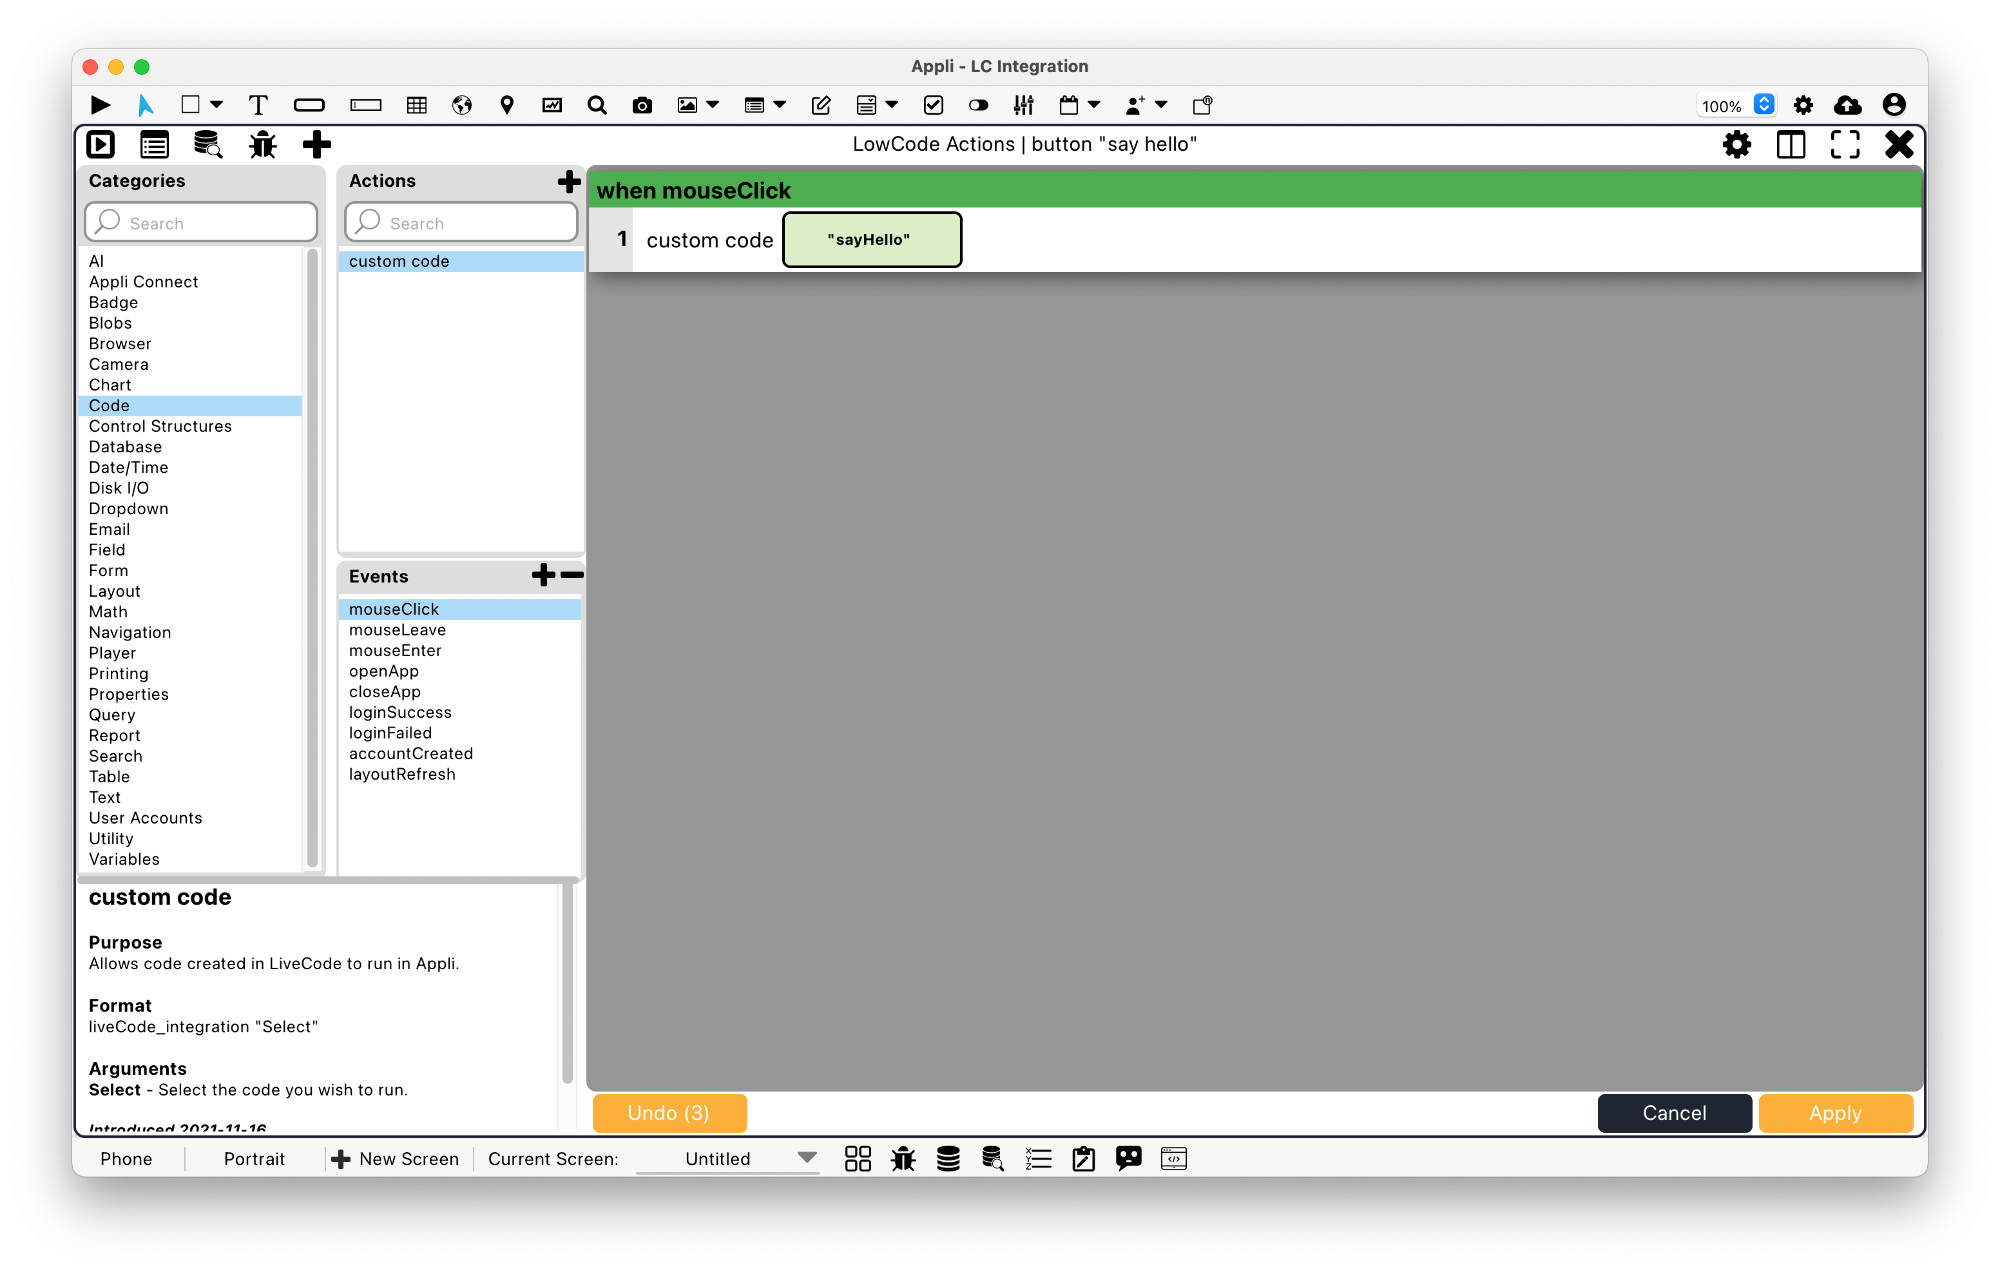
To execute a custom code function, use the custom code action. The parameter for that action is the name you given when you created a new tab in the custom code editor.

Best practices for custom code
You can add as many functions and commands you want per custom code tab, just remember that the first function is the one that is going to be executed when the custom code is triggered by the custom code action.
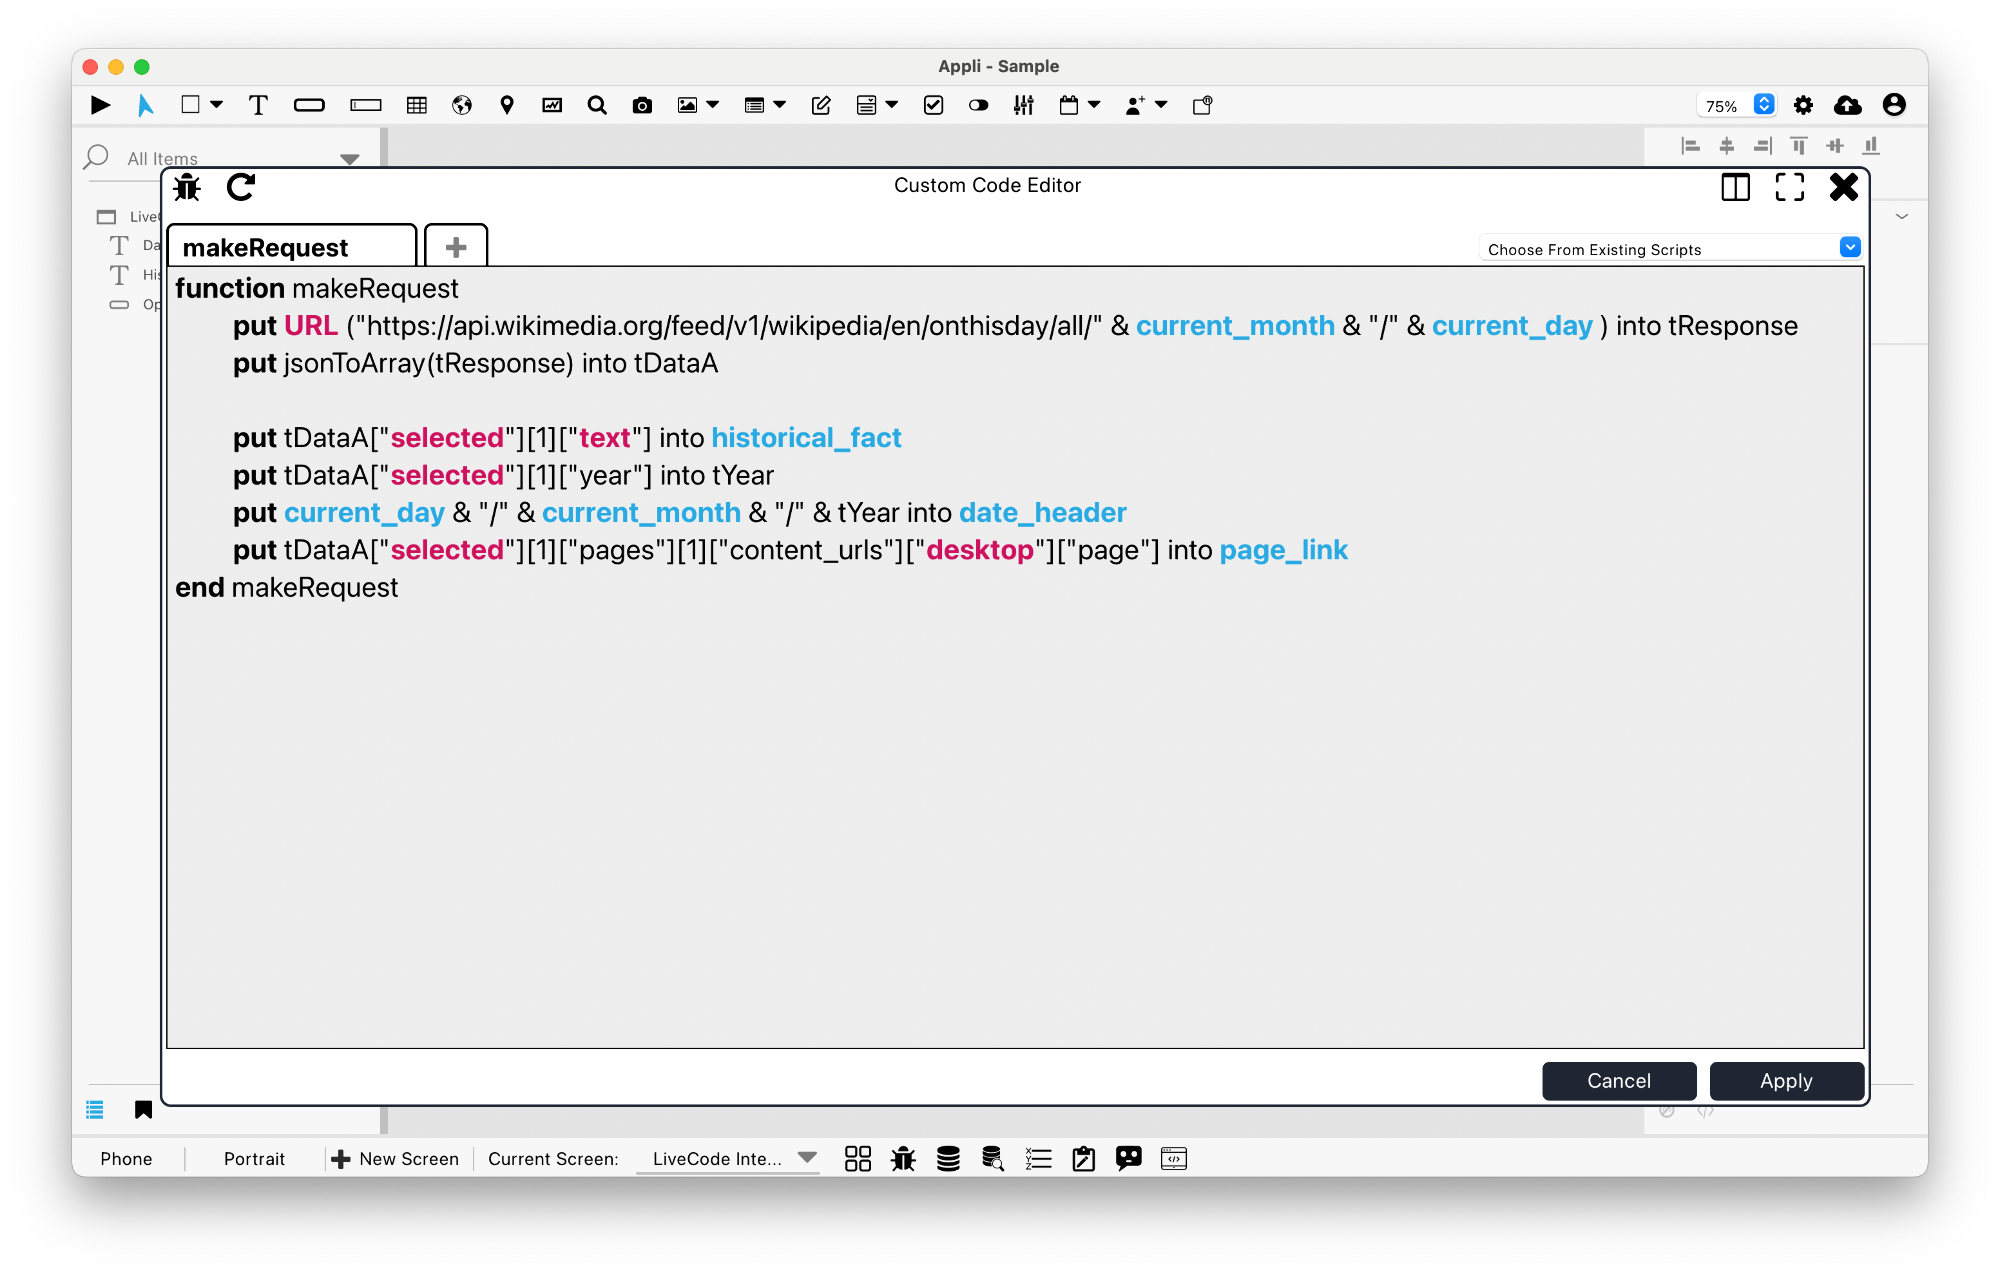
You can access variables and elements from Appli from the custom code, just start typing their names and use the autocomplete popup to select the variable or element.
Organize your function so that it is divided into three sections:
- Section 1: getting data from Appli. Use the start of your function to pick variables and properties from elements in Appli and place them into LiveCode variables. This way, in the middle of your LiveCode script you’re only dealing with LiveCode variables (it is easier to debug things this way).
- Section 2: LiveCode script. After getting all the data you need, proceed with your function implementation in LiveCode.
- Section 3: Return data to Appli. Set values for Appli variables and element properties at the end of your function.
If you follow these guidelines, only the beginning and the end of your function will contain elements or variables from Appli and all the middle part will be pure LiveCode script.
This doesn’t affect the execution of your function, this is not something enforced by Appli, these are just best practices that makes it easier for you to implement and debug your custom code.
Next steps
If you see yourself needing this kind of integration for your apps, it is a good time to go through the LiveCode Integration tutorial.
This chapter was last updated on Tue 11 Jun 2024 17:27:34 BST