Tutorial: Relational Data
Relational data happens when some information you’re storing in a table is linked to another records in another table. A good example is how comments on a blog post can be linked to the post itself and to the author of the comment, like shown in the screenshot below:

The comments table has three keys (I drew the arrows showing the links between tables):
- The comment text.
- A key holding the ID of the user who posted the comment, that one matches a record ID from the users table.
- A key holding the ID of the original blog post the user is commenting on, this ID matches the record ID of a record in the blog posts table.
Remember that records always have a Record ID. The ID key does not appear in the Data Modeler screen but you can see them in the Data Viewer.
For this tutorial, we’ll create a simple demo to show book quotes. This demo will have two screens with one layout on each screen. On the first screen, the user will select the book and that will navigate to the second screen where a layout will show quotes from that book.
We’ll not spend too long on how to create layouts and interfaces on this tutorial, you need to go through the database tutorial first if you don’t remember how to do it.
Creating the tables
Let’s create two tables: Book and Quote. Since this is just a demo we’ll make the tables as simple as possible. For the Book table we’re just having a single key to hold the book title. In the Quote table we’ll have a key to hold the quote text and one to hold a Record ID from the Book table.

Adding data
Instead of creating an interface to add data, we’ll just use the Data Viewer to insert it. Just double-click on a line and start typing. Appli will create the record for you. Notice that your IDs will not match the ones in the screenshot.
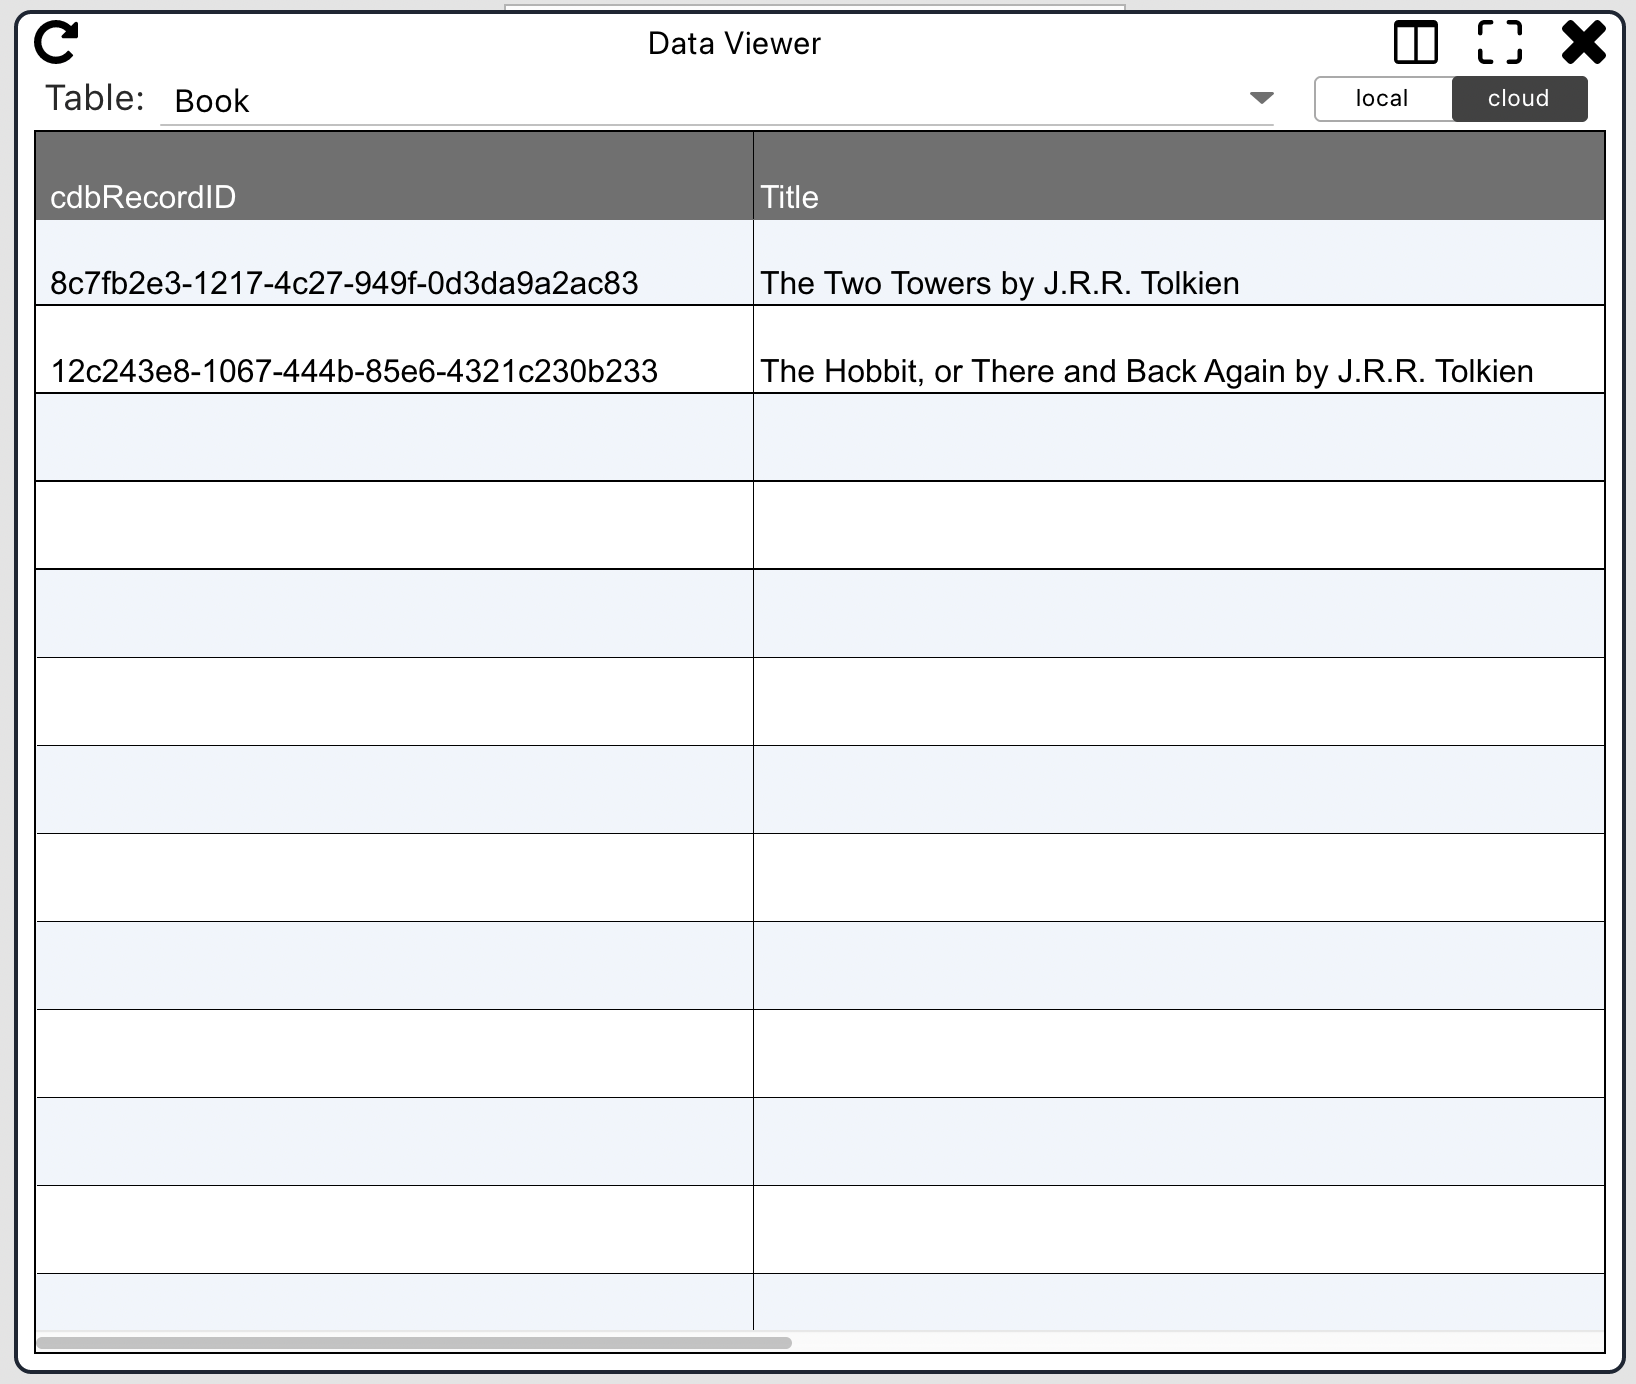
You can use the context menu on a Record ID to copy the ID and paste it on another table.

Then on the Quote table, you can paste that ID into the Book ID field for a new record and then add the quote you want. For this tutorial you can make the quotes up, I copied them from the Internet.
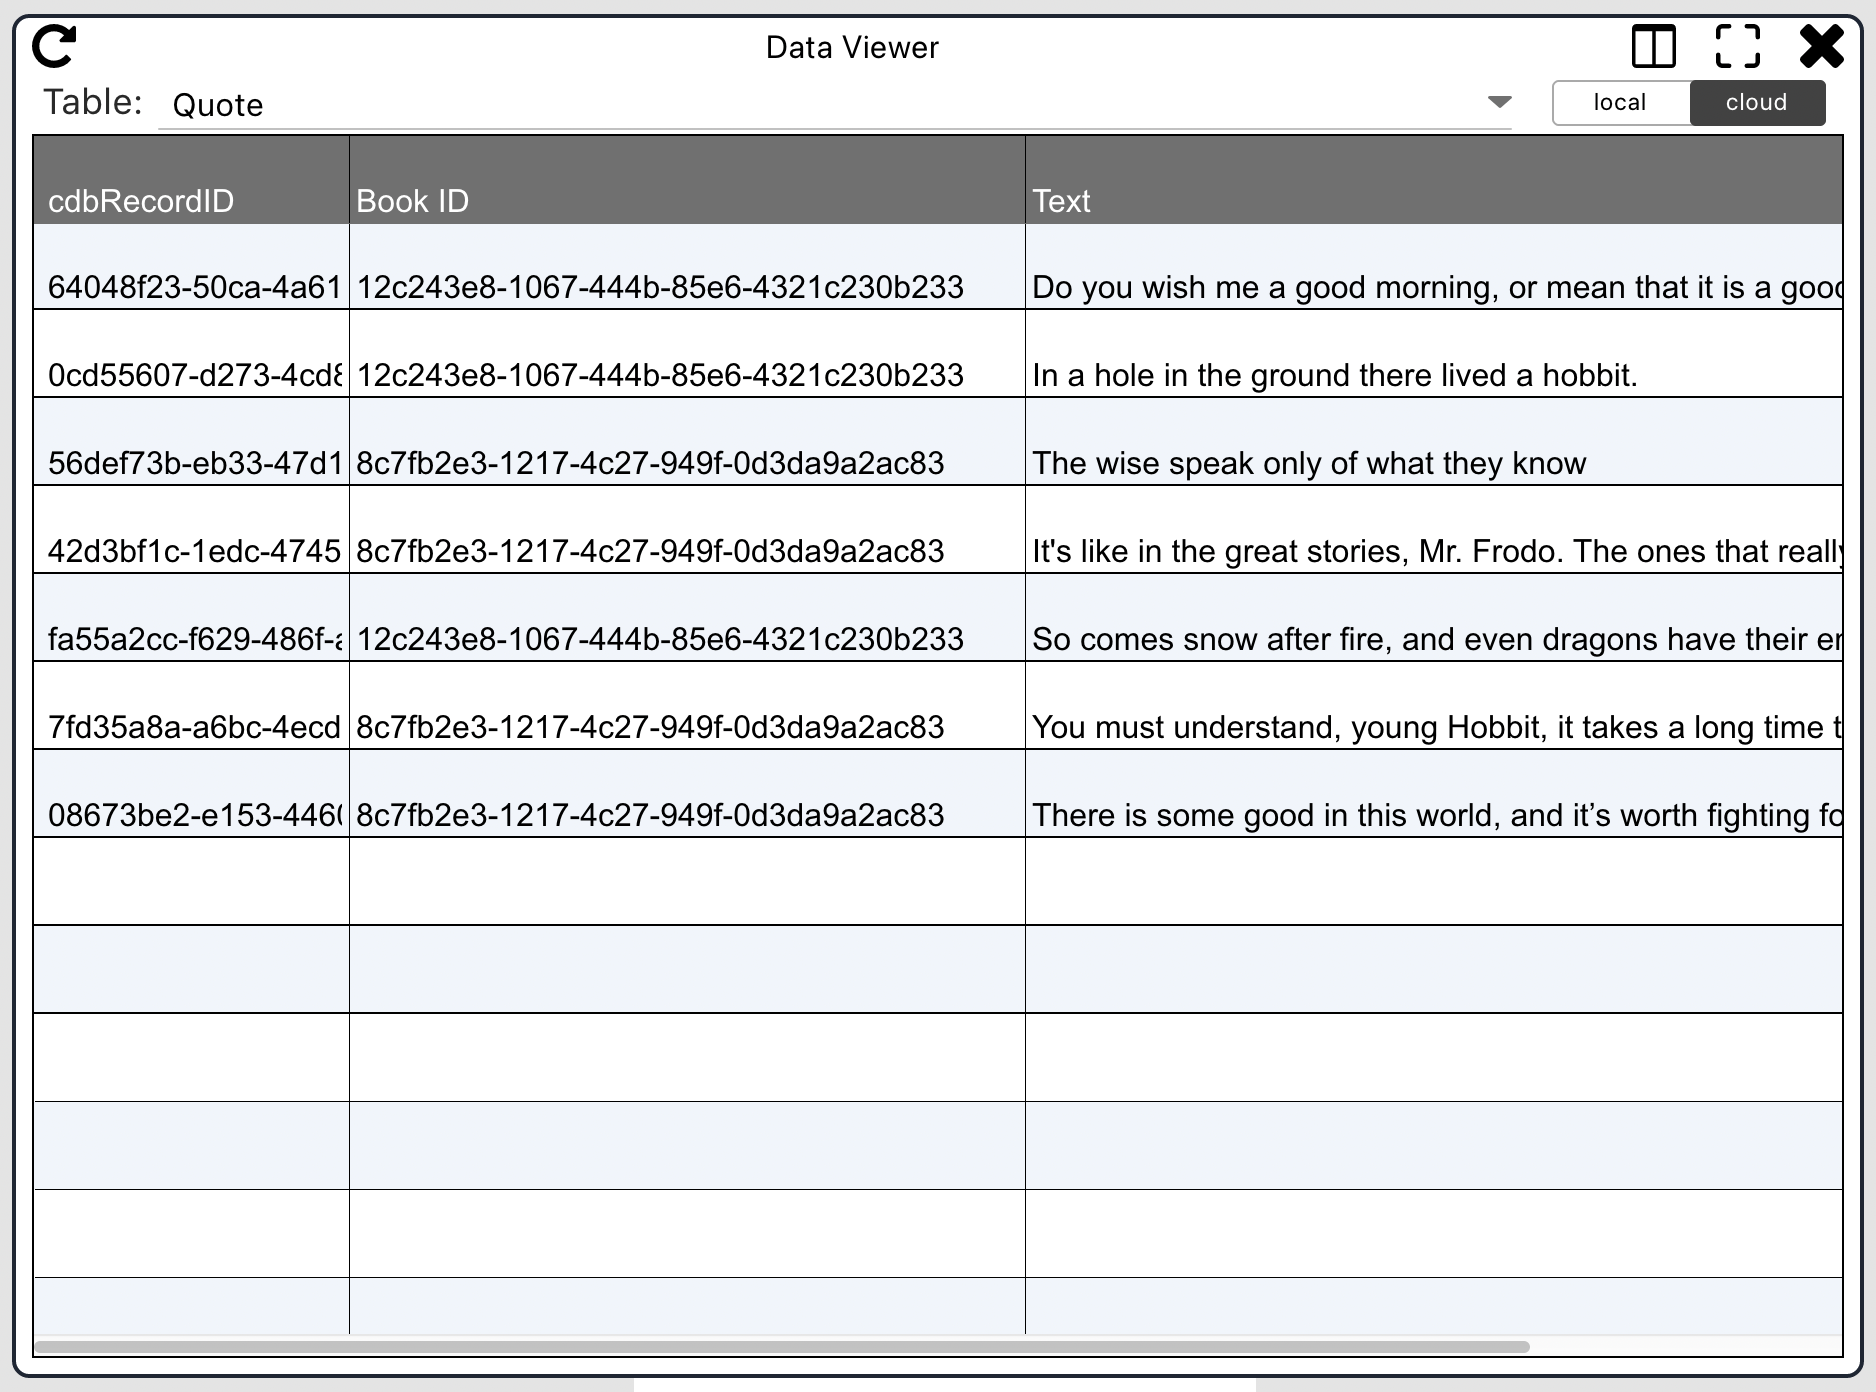
Make sure the Book IDs match Record IDs from the Book table, that is how we link them.
Creating the books screen
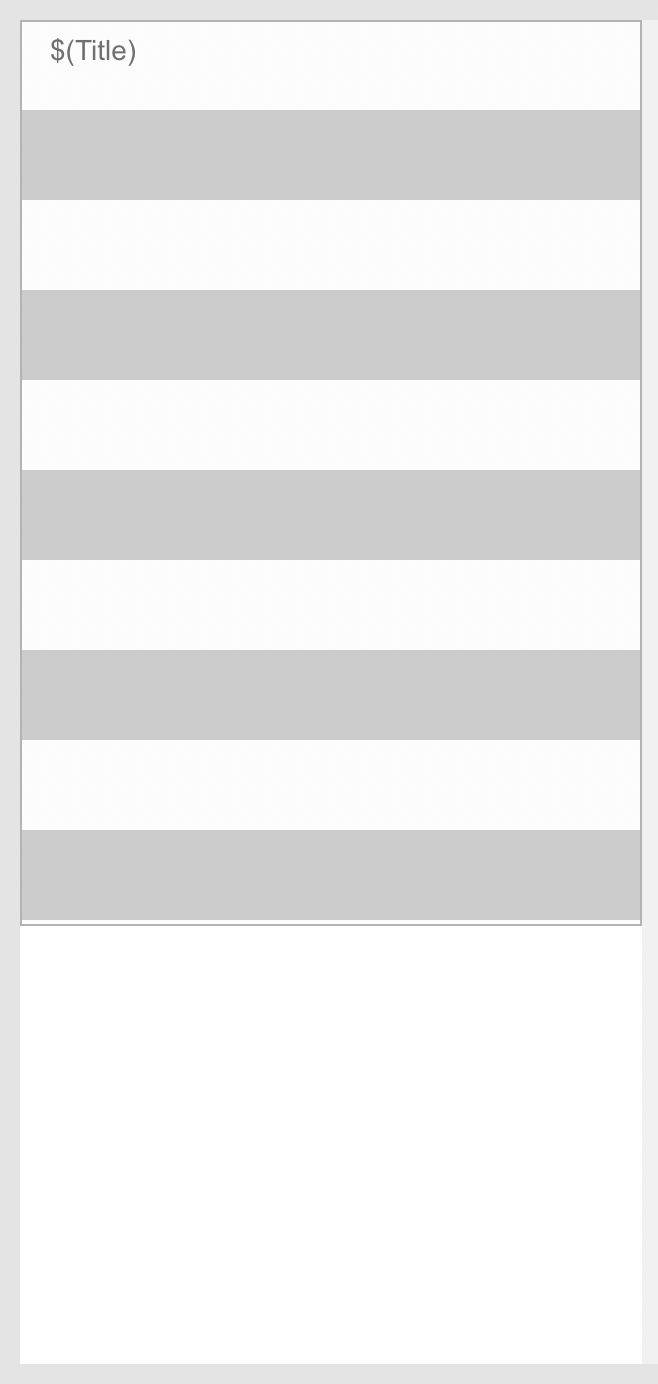
Add a layout and a text element to the layout. Link them to the Book table using no-code, exactly how you learned to do in the database tutorial.
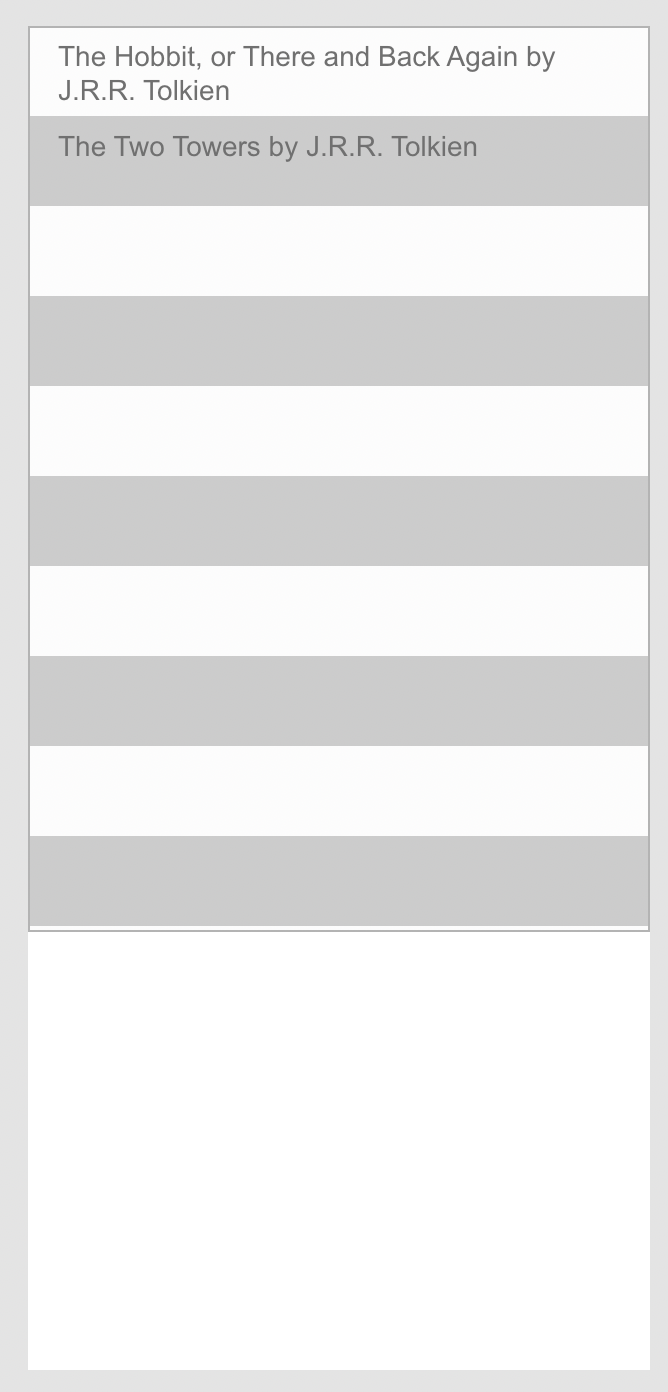
When you switch to play mode, you should see a list of the books you added to the database.
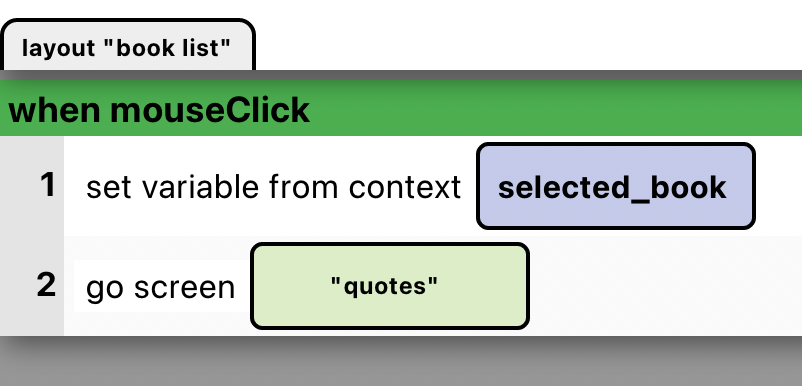
The low-code actions for this screen will be very simple. We’ll simply store the ID for the clicked book in a variable and move to the quotes screen.
Creating the quotes screen
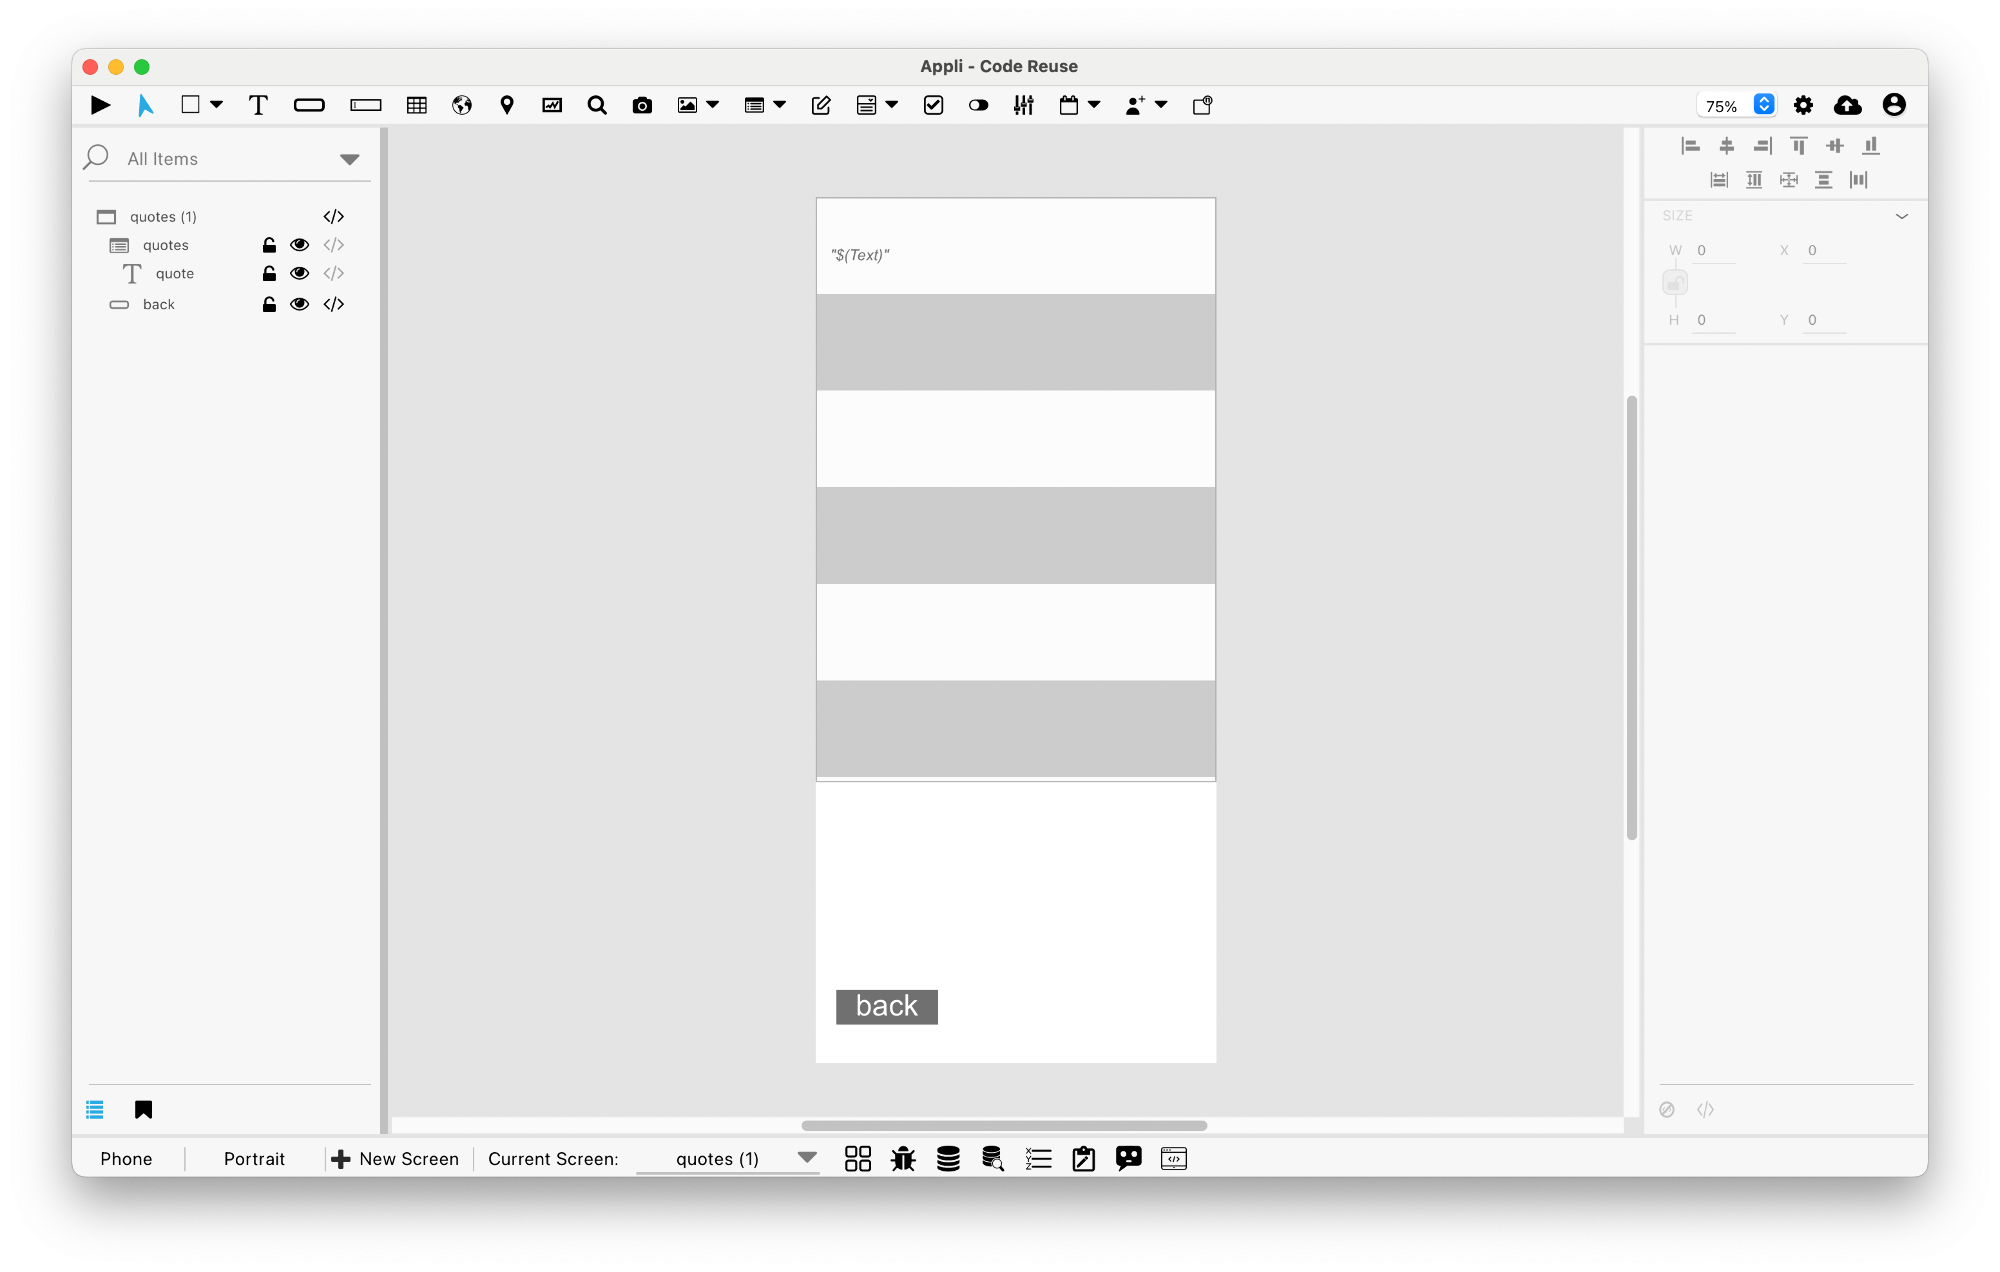
This is where the magic will happen. Make it just like the previous screen, just a layout and a text element.
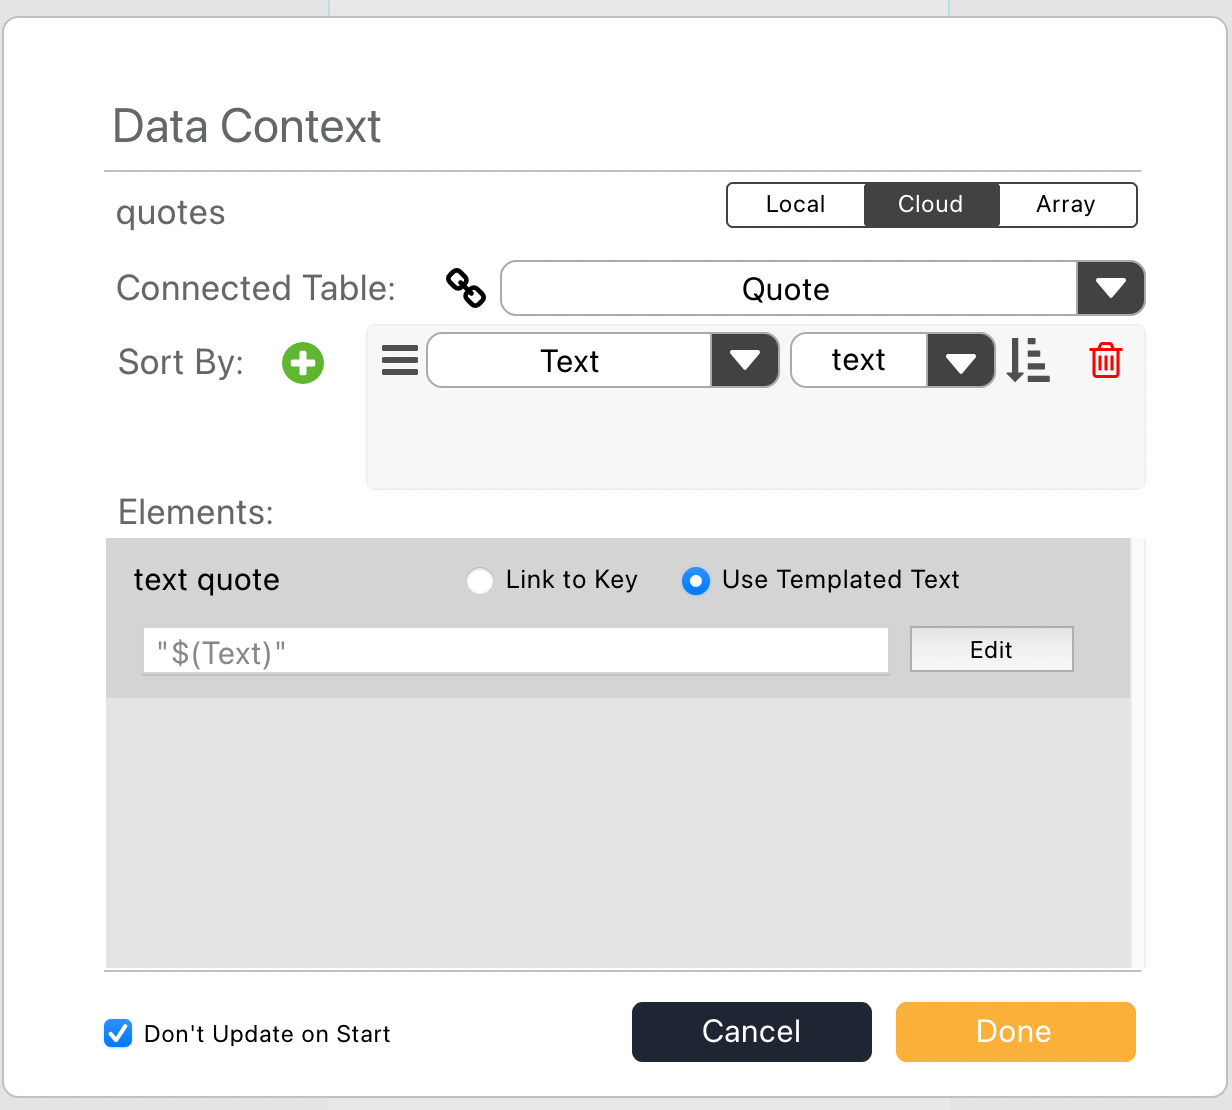
Using no-code, link that layout to the quotes table but make sure you check the don’t update on start checkbox. If you don’t do it, the screen will show all quotes when it opens instead of just the ones from the book you selected. If you check this and switch to play mode, the layout will be empty. This is intentional, we don’t want the layout to fetch records by itself, we want to tell it what records to display and we’ll do it by adding actions to the openScreen event of this screen.
How to query a table based on data from another table
The openScreen event is the first event to trigger when we navigate to a screen, so it is the best place to put our code. Our first step is to Reset Layout making sure it is empty. If we don’t do it, the layout will show the previous results in it for a split second when the screen opens.
To get the quotes for the selected_book, we’ll use the
Query
Records action. This action allows us to filter a table for
records matching a criteria we specify. We’ll configure that action to
use the following arguments:
- tableName: Quote
- key: Book ID. That means we’ll filter the table based on the values of Book ID.
- operator: Equals (=). There are many operators, we can do partial matches, check numerical values, they are very powerful. For this sample, we’ll use the equals operator which will check if the Book ID is an exact match to a value we specify.
- value:
selected_book. That is the value we’re matching against. That means we’ll filter the records from this table with values that are an exact match to the selected book. - target: cloud.
- resultFormat: recordList. This means the result of this action will be a list of records.
- output:
quotes. We’ll create a new variable called Quotes to hold the list of matching records.
The result from executing this action is that we’ll populate the
quotes variable with a list of matching records. The next
step is to tell the layout to display the records from the list, you can
do that with the Display Records In Layout
action. Just select which layout to use and pass the variable
quotes as the recordIDs argument.

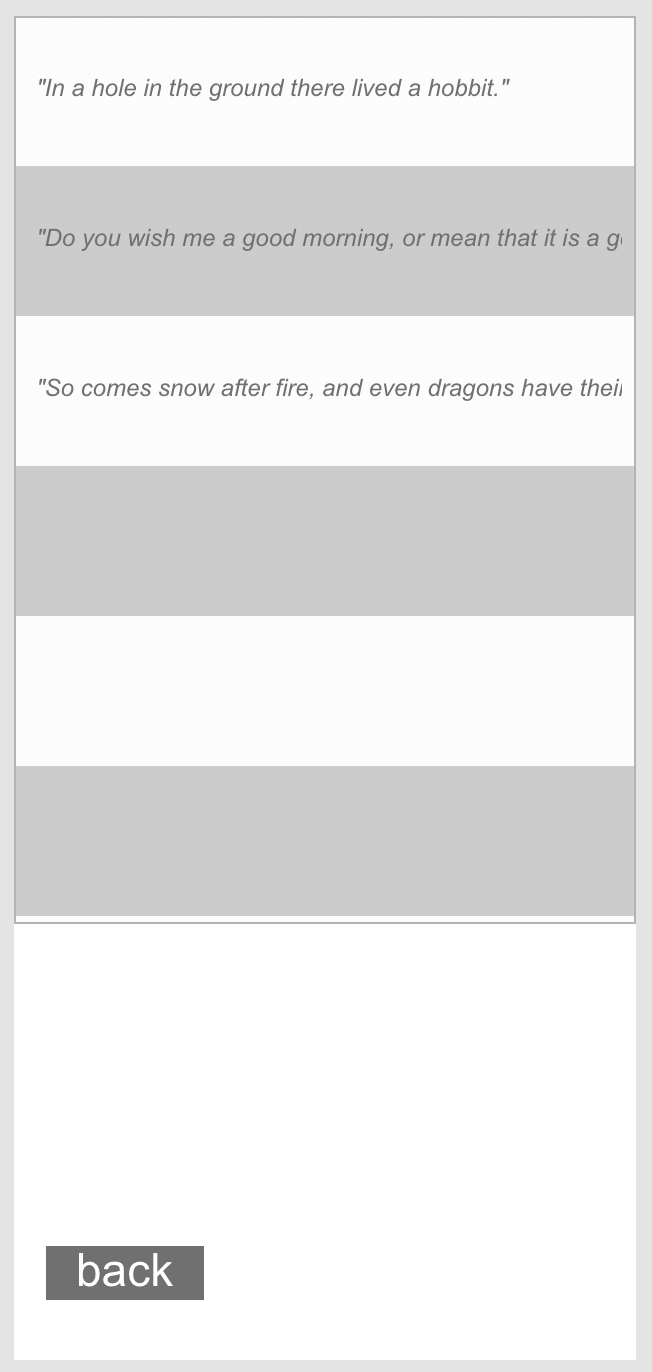
Now if you move back to the first screen and switch into play mode, you can select a book and see the quotes in the quotes screen.
Next steps
Check out the database actions, they are very powerful and allow you to do complex data manipulation with very few actions. You might also want to check our advance topics playlist on YouTube.
This chapter was last updated on Fri 17 Jan 2025 13:58:00 GMT