Low-Code & Action Scripts
So far, you have learned how to design your application by configuring platforms, creating screens, and laying out and customizing elements. That can get you very far, but to fully leverage the power of Appli, you need to understand how low-code works.
Most development workflows involve the developer typing our commands to craft their source-code in a way that is understood by that programming language. It is an error-prone process in which a typo can render a whole project impossible to compile or worse, it might render the final product buggy in a way that the consequences only surfaces later in its lifetime. Learning a new programming language requires a lot of effort and focus, not that different from learning any new natural language. It is a rewarding process, but given how it works, it has a huge gap between first being exposed to the programming language and actually being an effective developer using that language.
Appli makes this gap smaller by being a next generation development environment. It doesn’t force the developer to write their own source-code. Appli features an interactive development paradigm using a graphical interface; Appli writes the source-code for you. This means that an Appli developer doesn’t need to memorize all commands using an exotic language before they can be effective. Our interactive low-code system helps you learn how to be a developer and enables you to craft complex programs in a fraction of the time that it would take to do the same task in a previous generation programming language.
The Low-Code interface
Low-Code is the method used to add behaviors to an element. The property inspector allows one to configure an element. At the bottom of the property inspector, you’ll see the Low-Code button, which opens the Low-Code interface for the selected element.

Let’s quickly define what we mean by behavior. We’re using it as a loose term to mean whatever happens when the user interacts with the element.
The Low-Code interface is divided into distinct sections that are easy to identify: categories, actions, events, action script, and help.
By selecting and configuring actions and events, you create action scripts which dictate what happens when a user interacts with the element.
Events
Events are the trigger for actions. When an event occurs, it activates the action you selected. The most common event is mouseClick which is when the user clicks on an element using the mouse. If you don’t select an event from the list, Appli will default to asking if you want to use mouseClick.
To learn more about events, check out the events chapter.
Actions
Actions are grouped using categories. Select a category to view all actions available in that group. Select an event and click on an action to add it to the action script on the right side of the interface. The selected action might contain some underlined text. That means that part of the action is an argument. To complete the action, click that argument and configure it.
While the action is not properly configured, the action script will display with a red tint in the background. Once you set all the arguments, that tint will change to green. This is a quick way to detect mistakes in your script.
On the bottom-left you’ll see the help section for the selected action explaining all about it and what arguments it uses. Checking that section is a wonderful way to learn all the actions you can use.
Example: navigating between screens when a button is clicked.
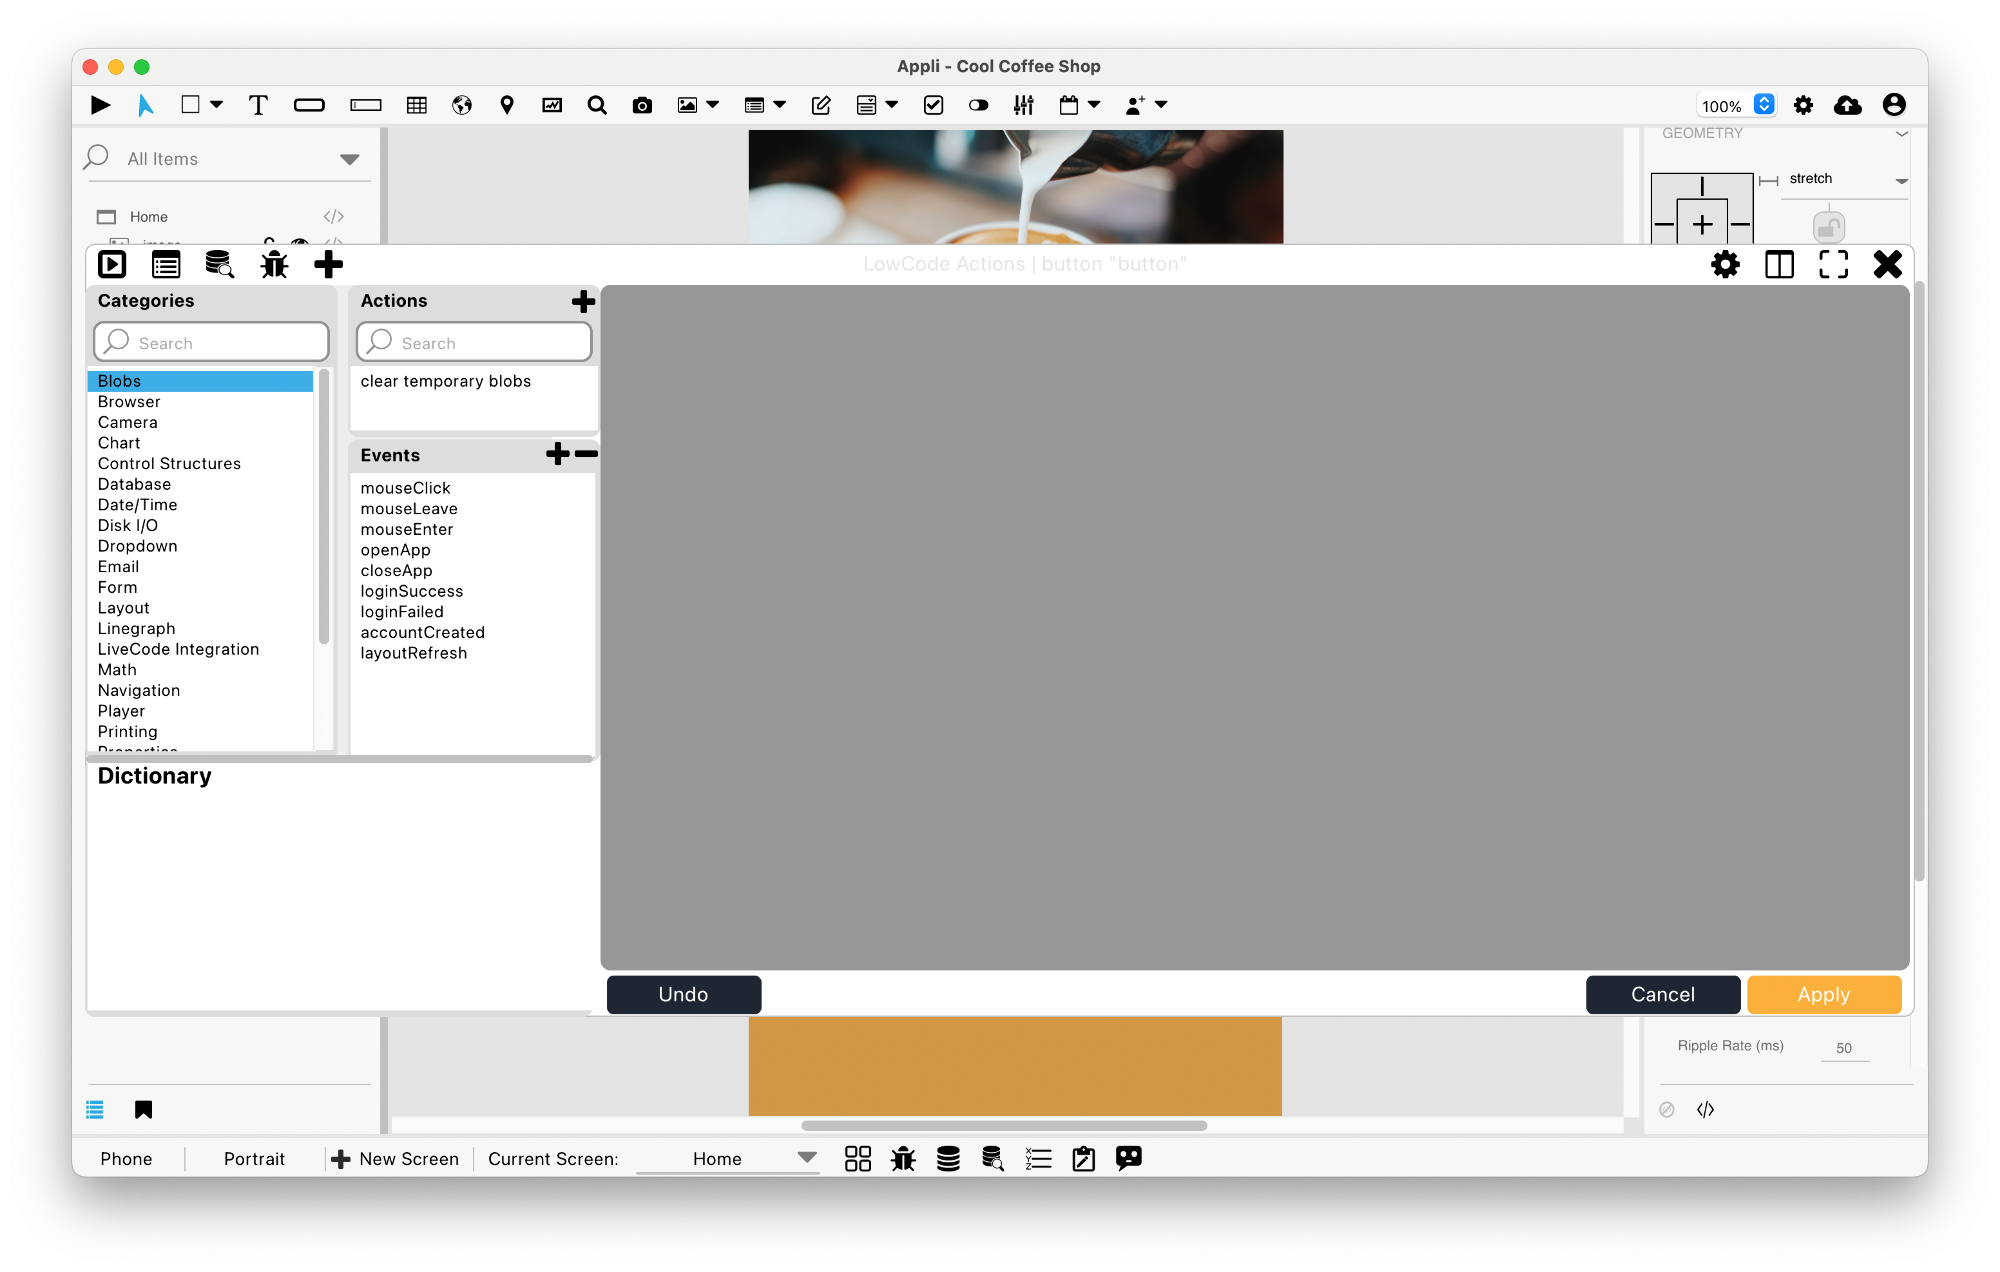
When you open the Low-Code interface for a button, you’ll see an empty action script.
Our aim is to create an action script that causes triggers the navigation to another screen when the button is clicked. To do that, first we add a MouseClick event from the events section, then we can go to the Navigation category and select the Go to Screen action.
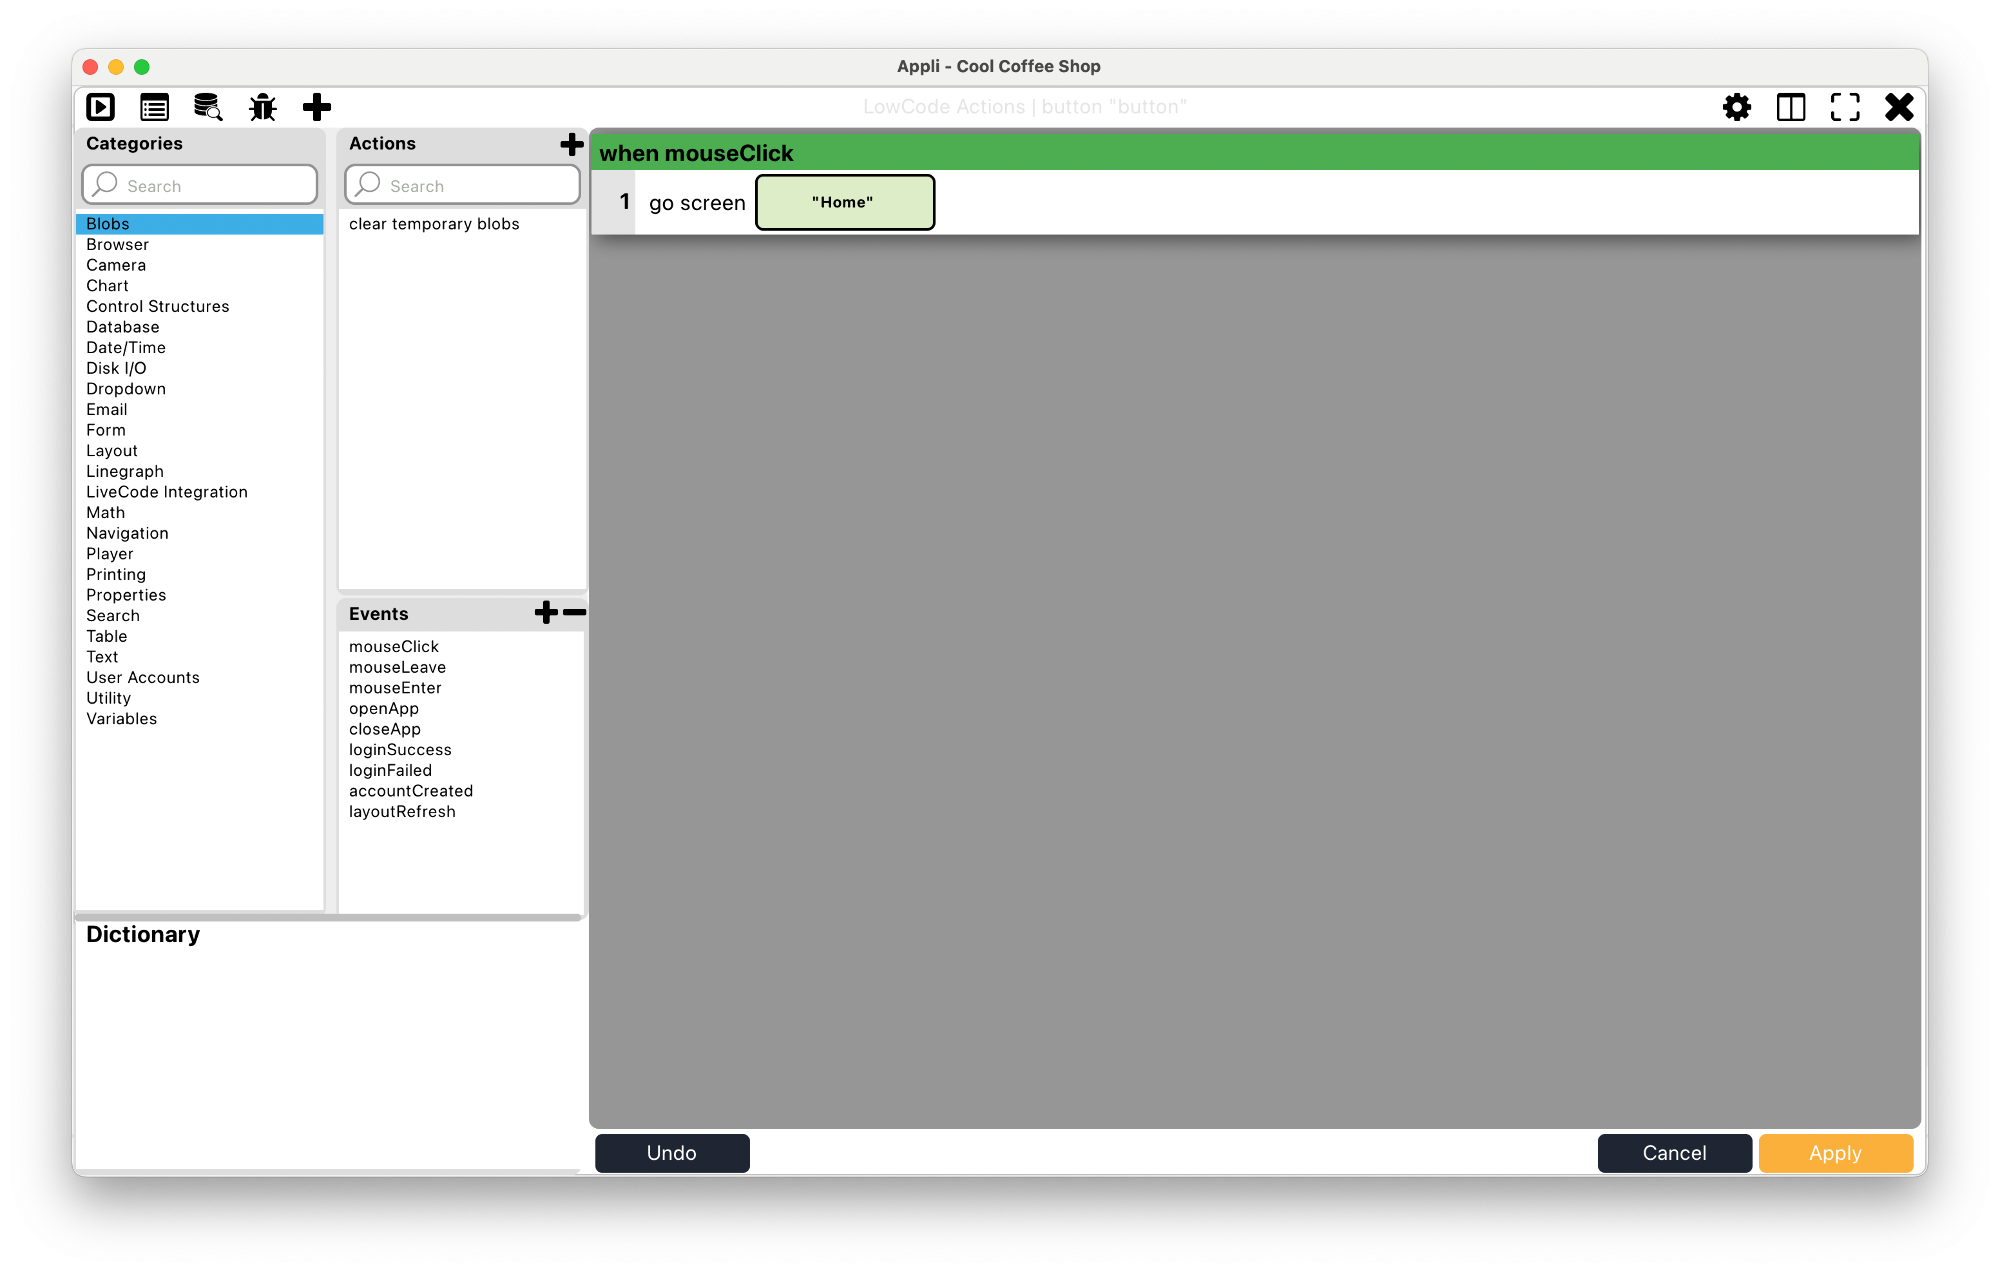
Appli wrote the action script for you:
when mouseClick
  go screen Screen
The last thing you need to do is click on the Screen argument to select the destination screen for the Go to Screen action. Notice that before selecting the value for the Screen argument, the whole script background was tinted red. That is how Appli flags that there are mandatory steps needed before that script is ready. After selecting a screen, the background turns to green.
The action script starts with mouseClick, that
tells you that this behavior will happen when the user clicks the
element, more precisely when they release the mouse button or lift their
fingers from the touch pad or screen after clicking. That script can be
understood as go to this specific screen when the user clicks the
element, that’s not very different from the actual text of the
script. Appli action scripts are easy to read and
understand.
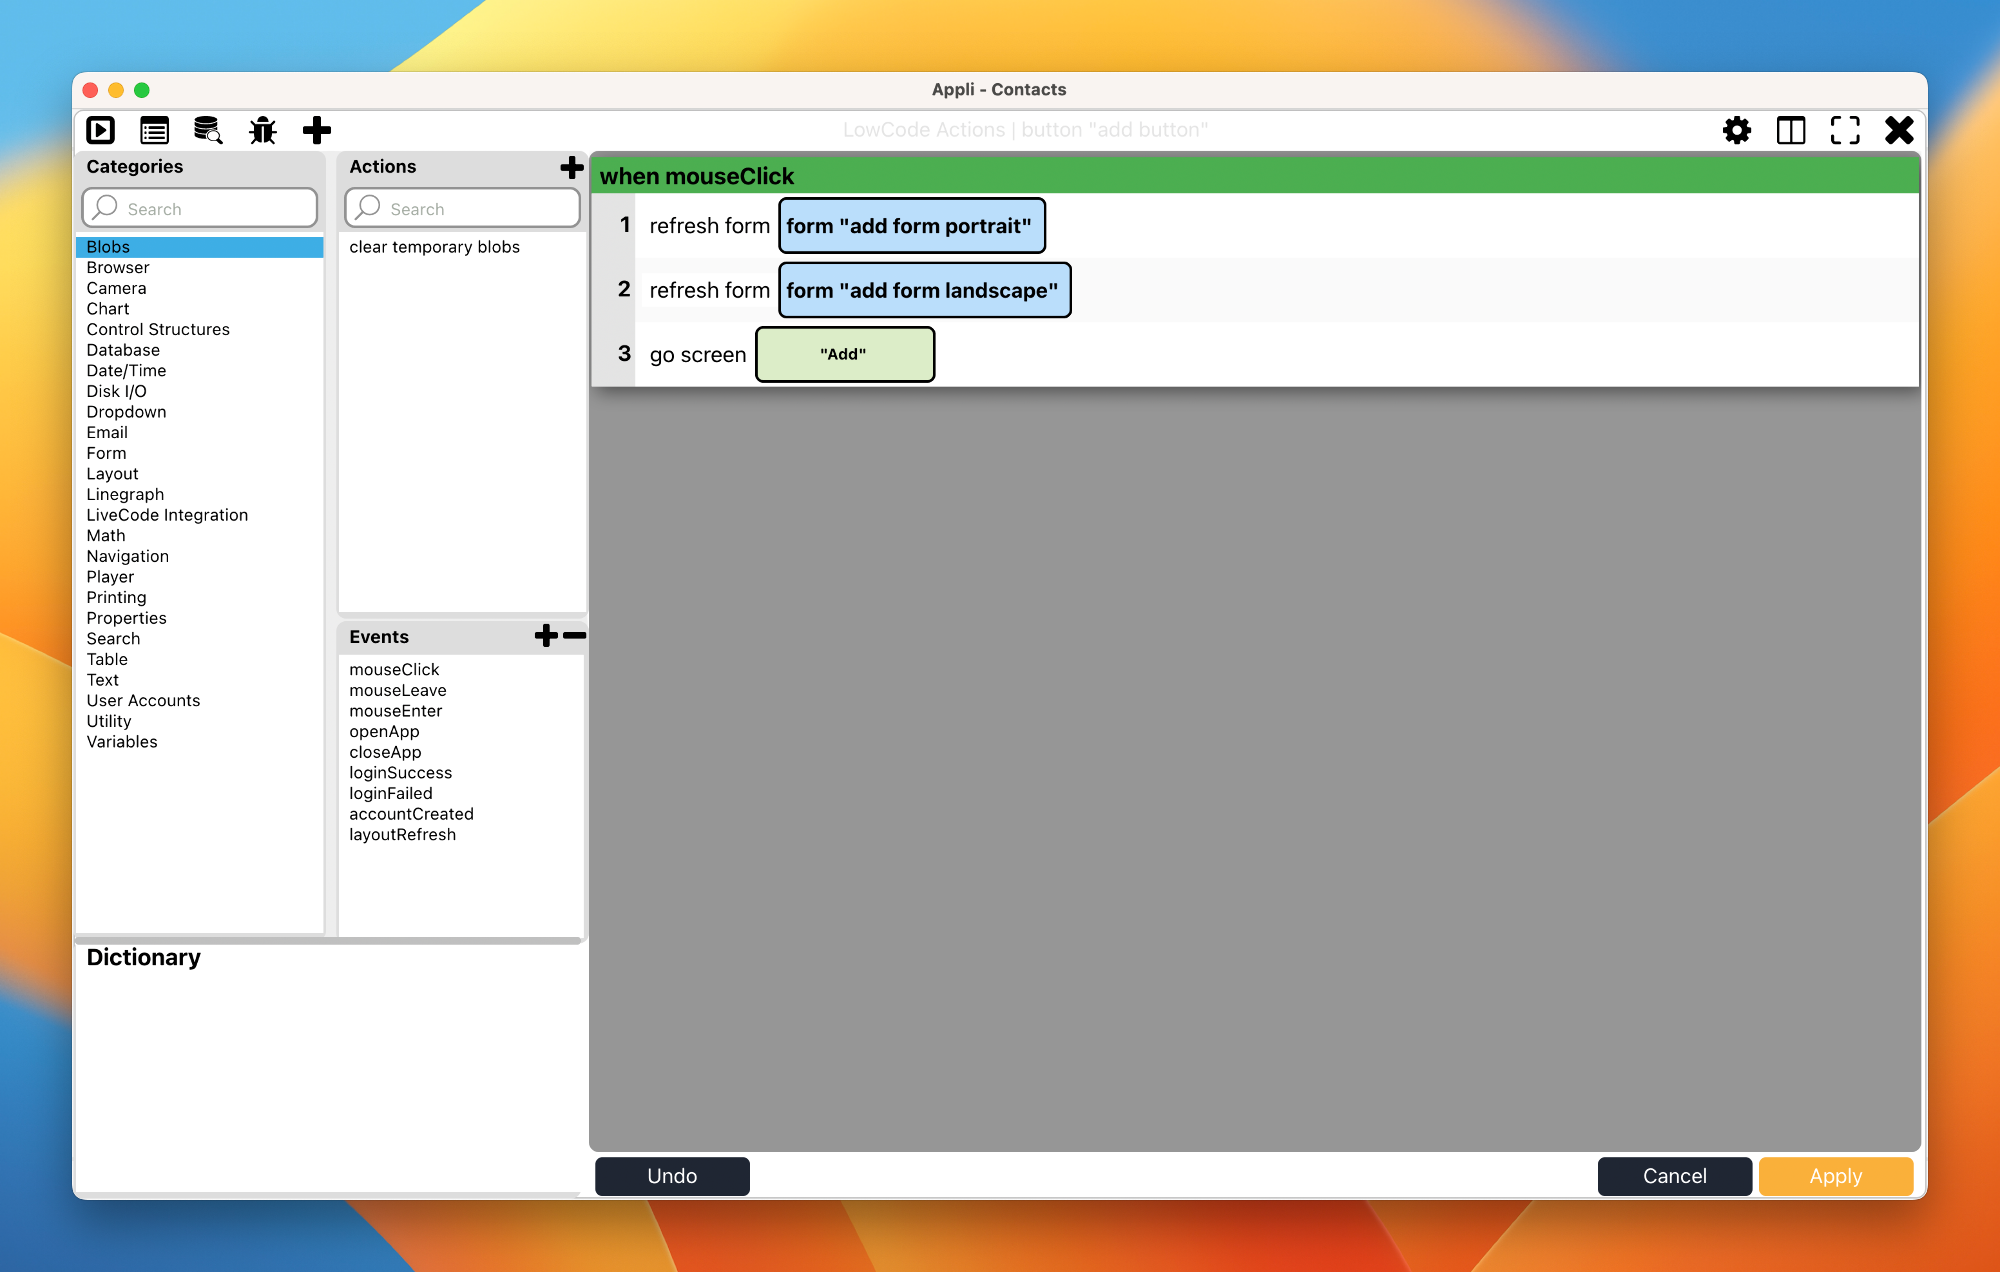
Action scripts are not restricted to a single action per script. You can select multiple actions to create complex behaviors. They’ll happen in the order displayed on the action script. If you got something wrong, you can simply click the small x button next to the action in the script to remove it.
Low-Code editor buttons
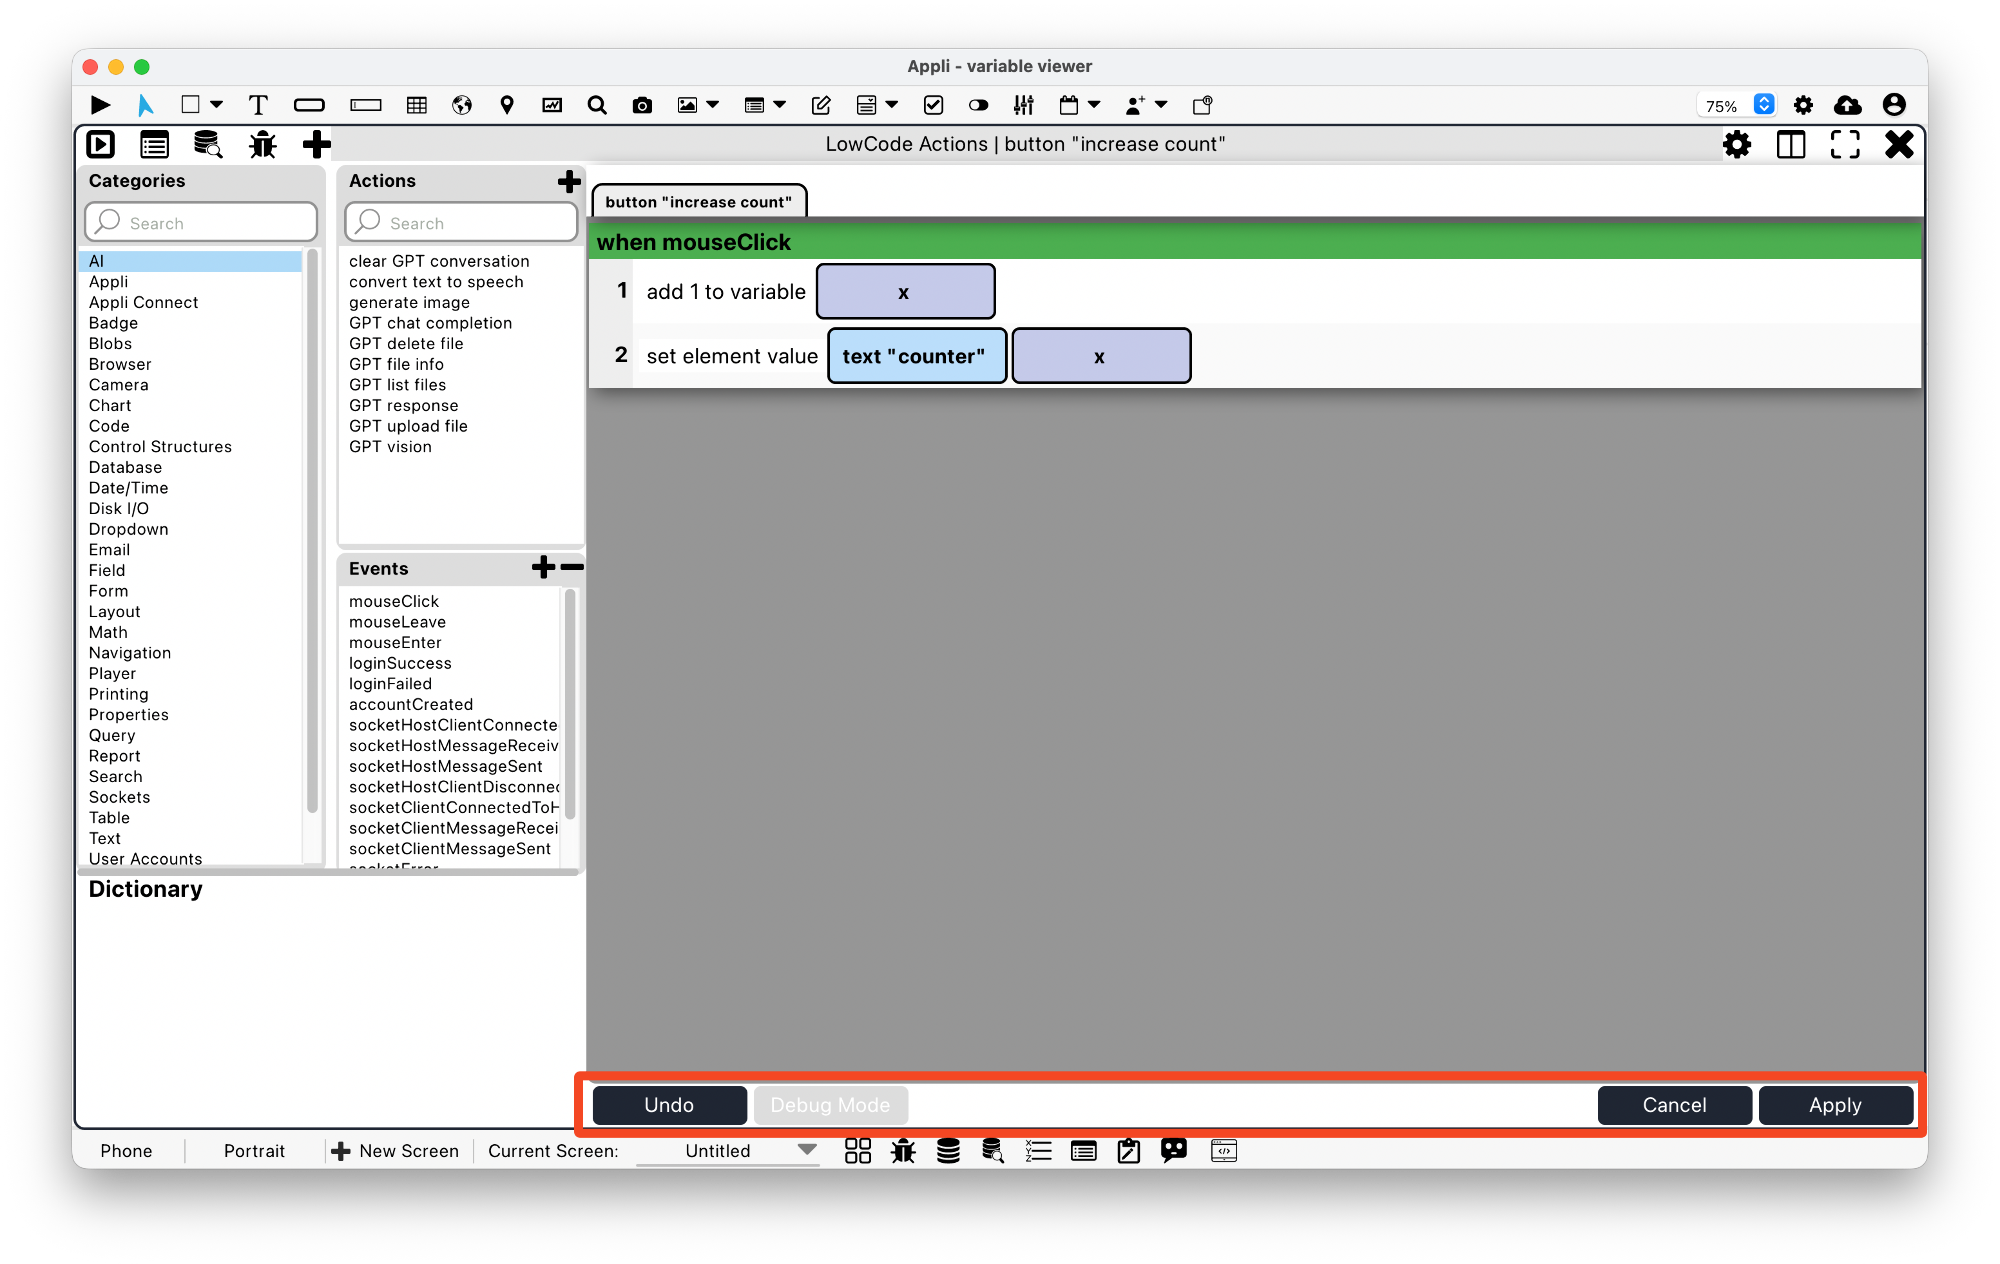
The buttons at the bottom of the Low-Code editor allow you to:
- Apply the changes to the current script thus saving it.
- Cancel the current changes.
Cancelling will close the Low-Code editor pane, clicking Apply will accept the changes but not close the pane so you can keep working.
- Undo let’s the developer undo the most recent change to the script.
- Debug Mode enables or disables the debugger.
Learn more about the Debug Mode in the next chapter.
Low-Code editor toolbar

These buttons provide easy access to useful tools and help you manage the Low-Code editor interface. Some of these tools are also present in other panes such as the Data Viewer. They are:
- Collapse Left Panel: Handy for smaller screens, allows you to hide the categories, events, and actions panels.
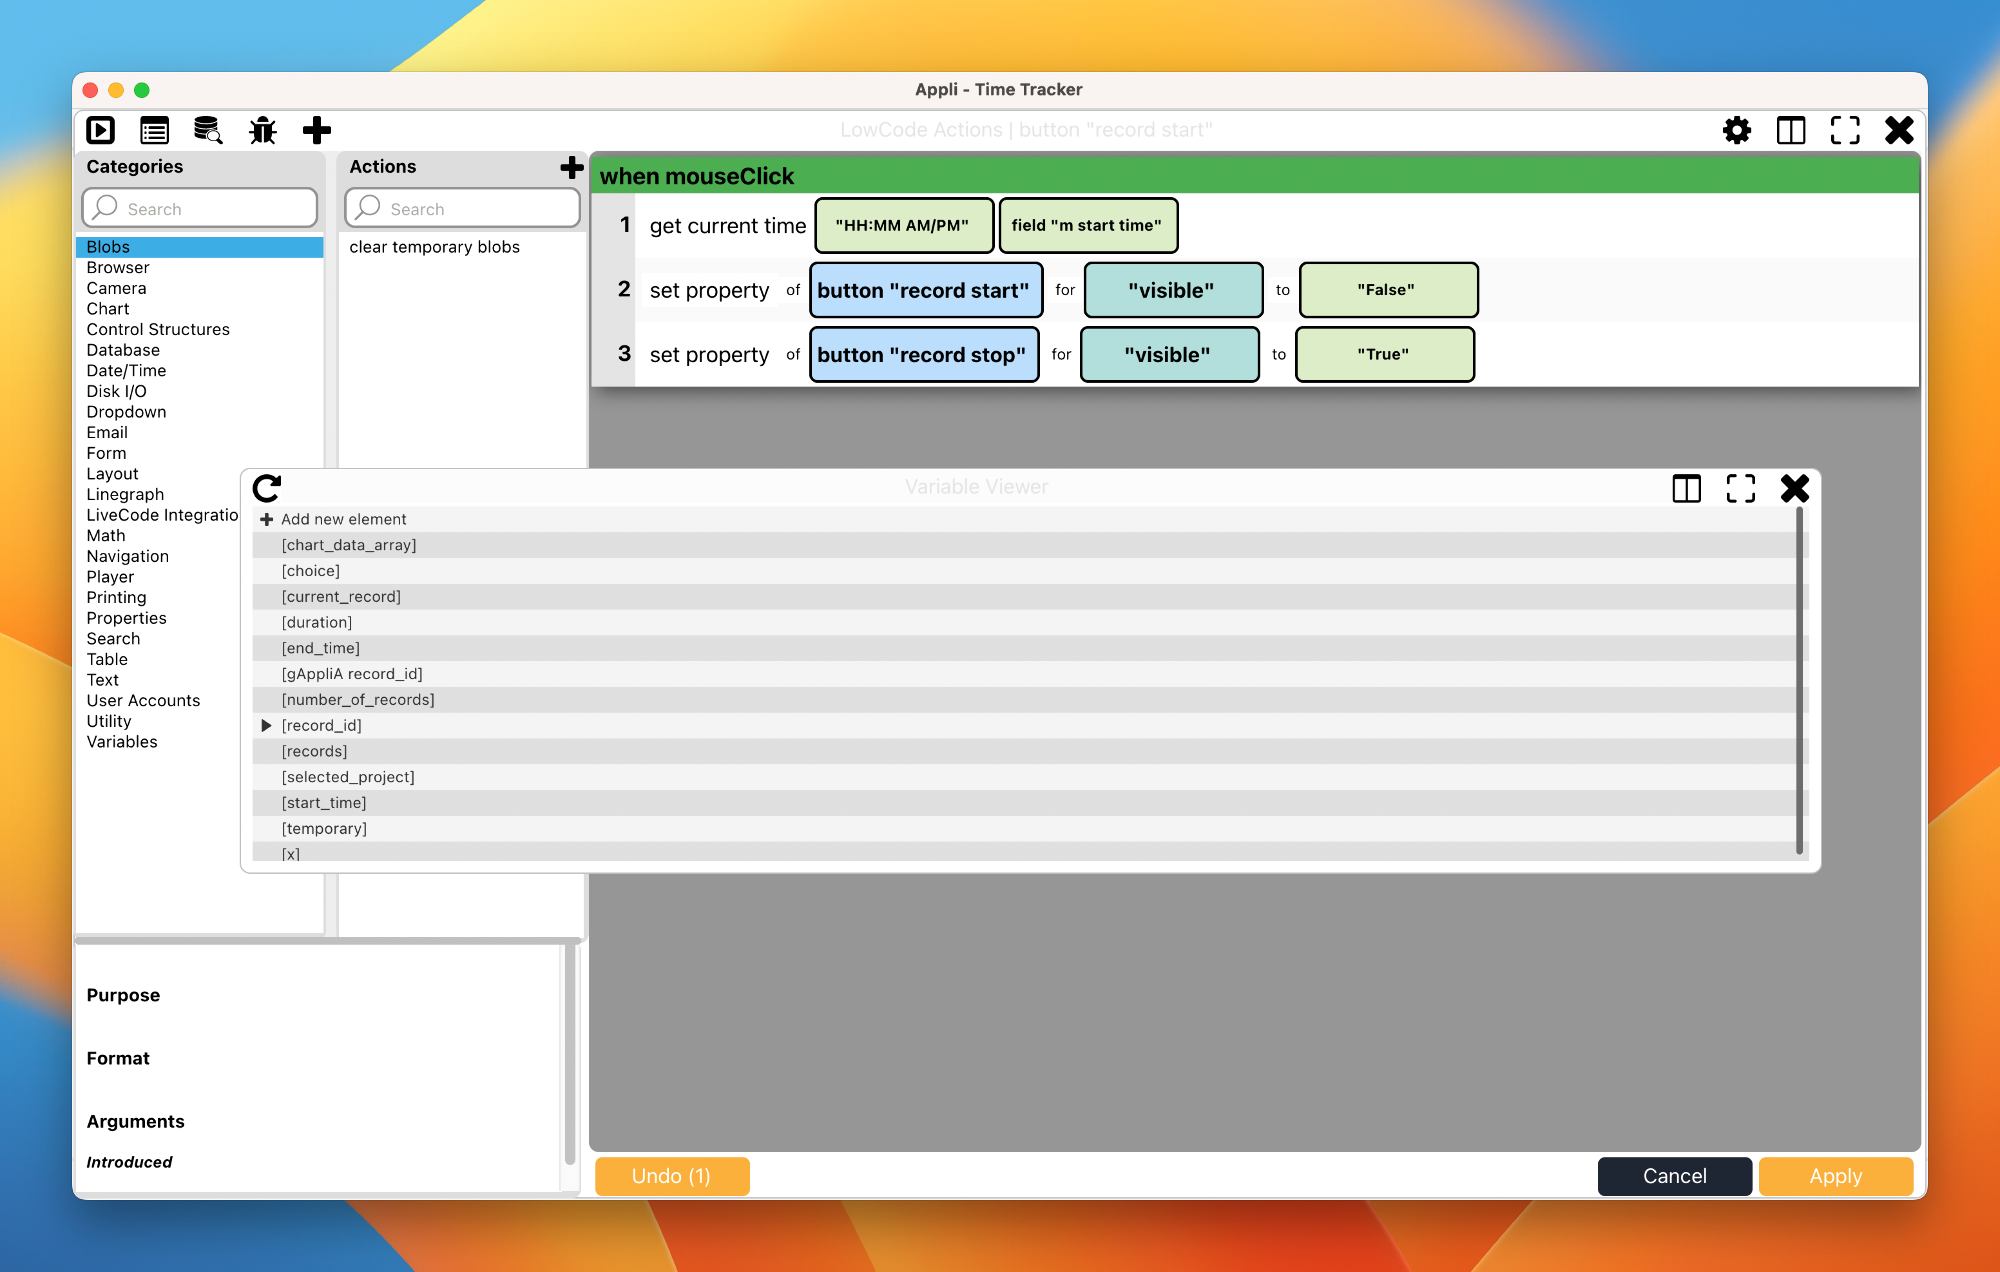
- Variable Viewer: Opens the Variable Viewer tool that allows you to view and manage your variables.
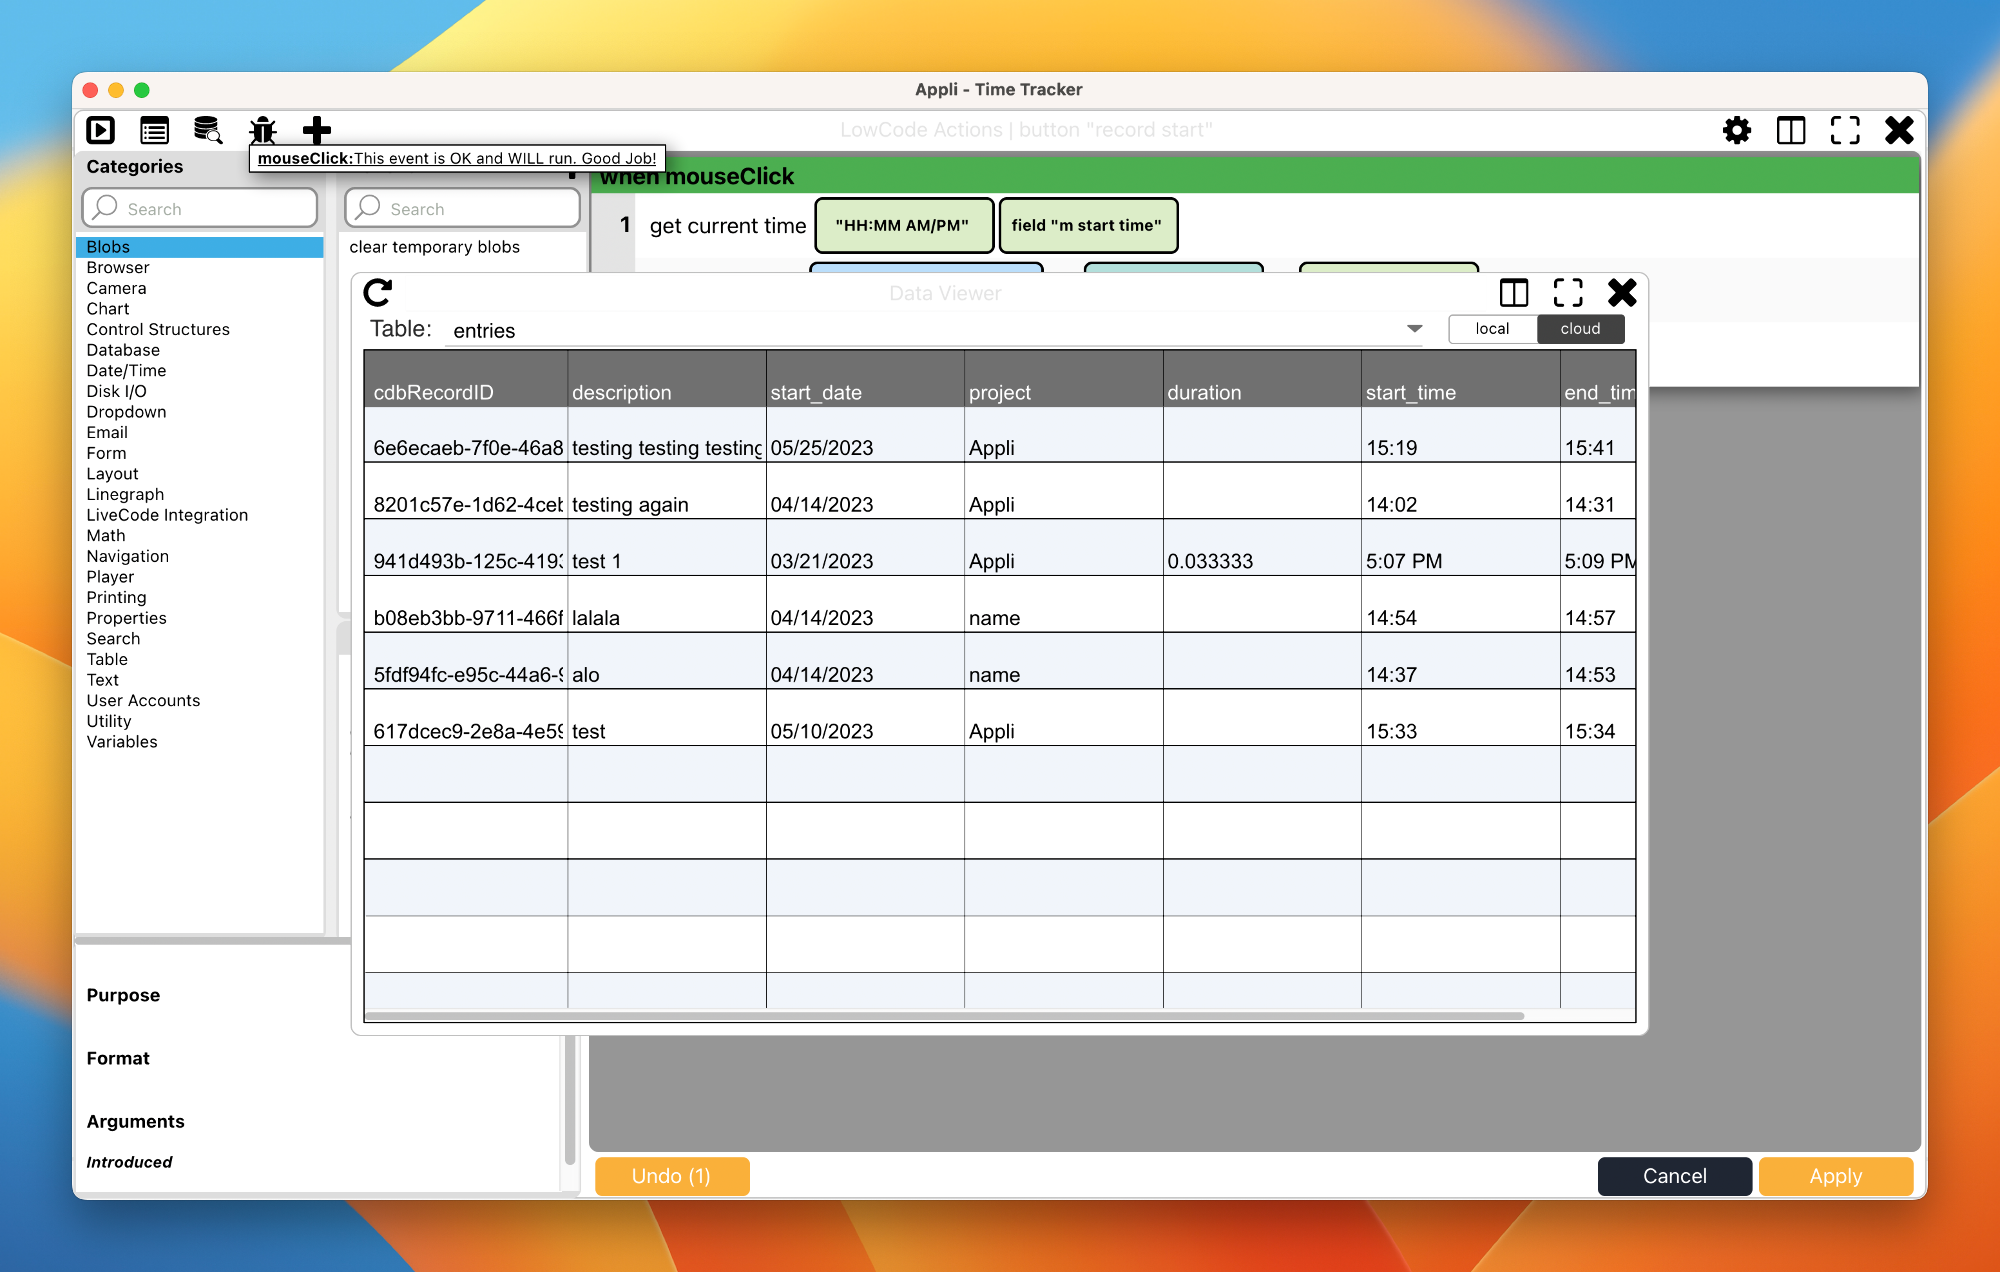
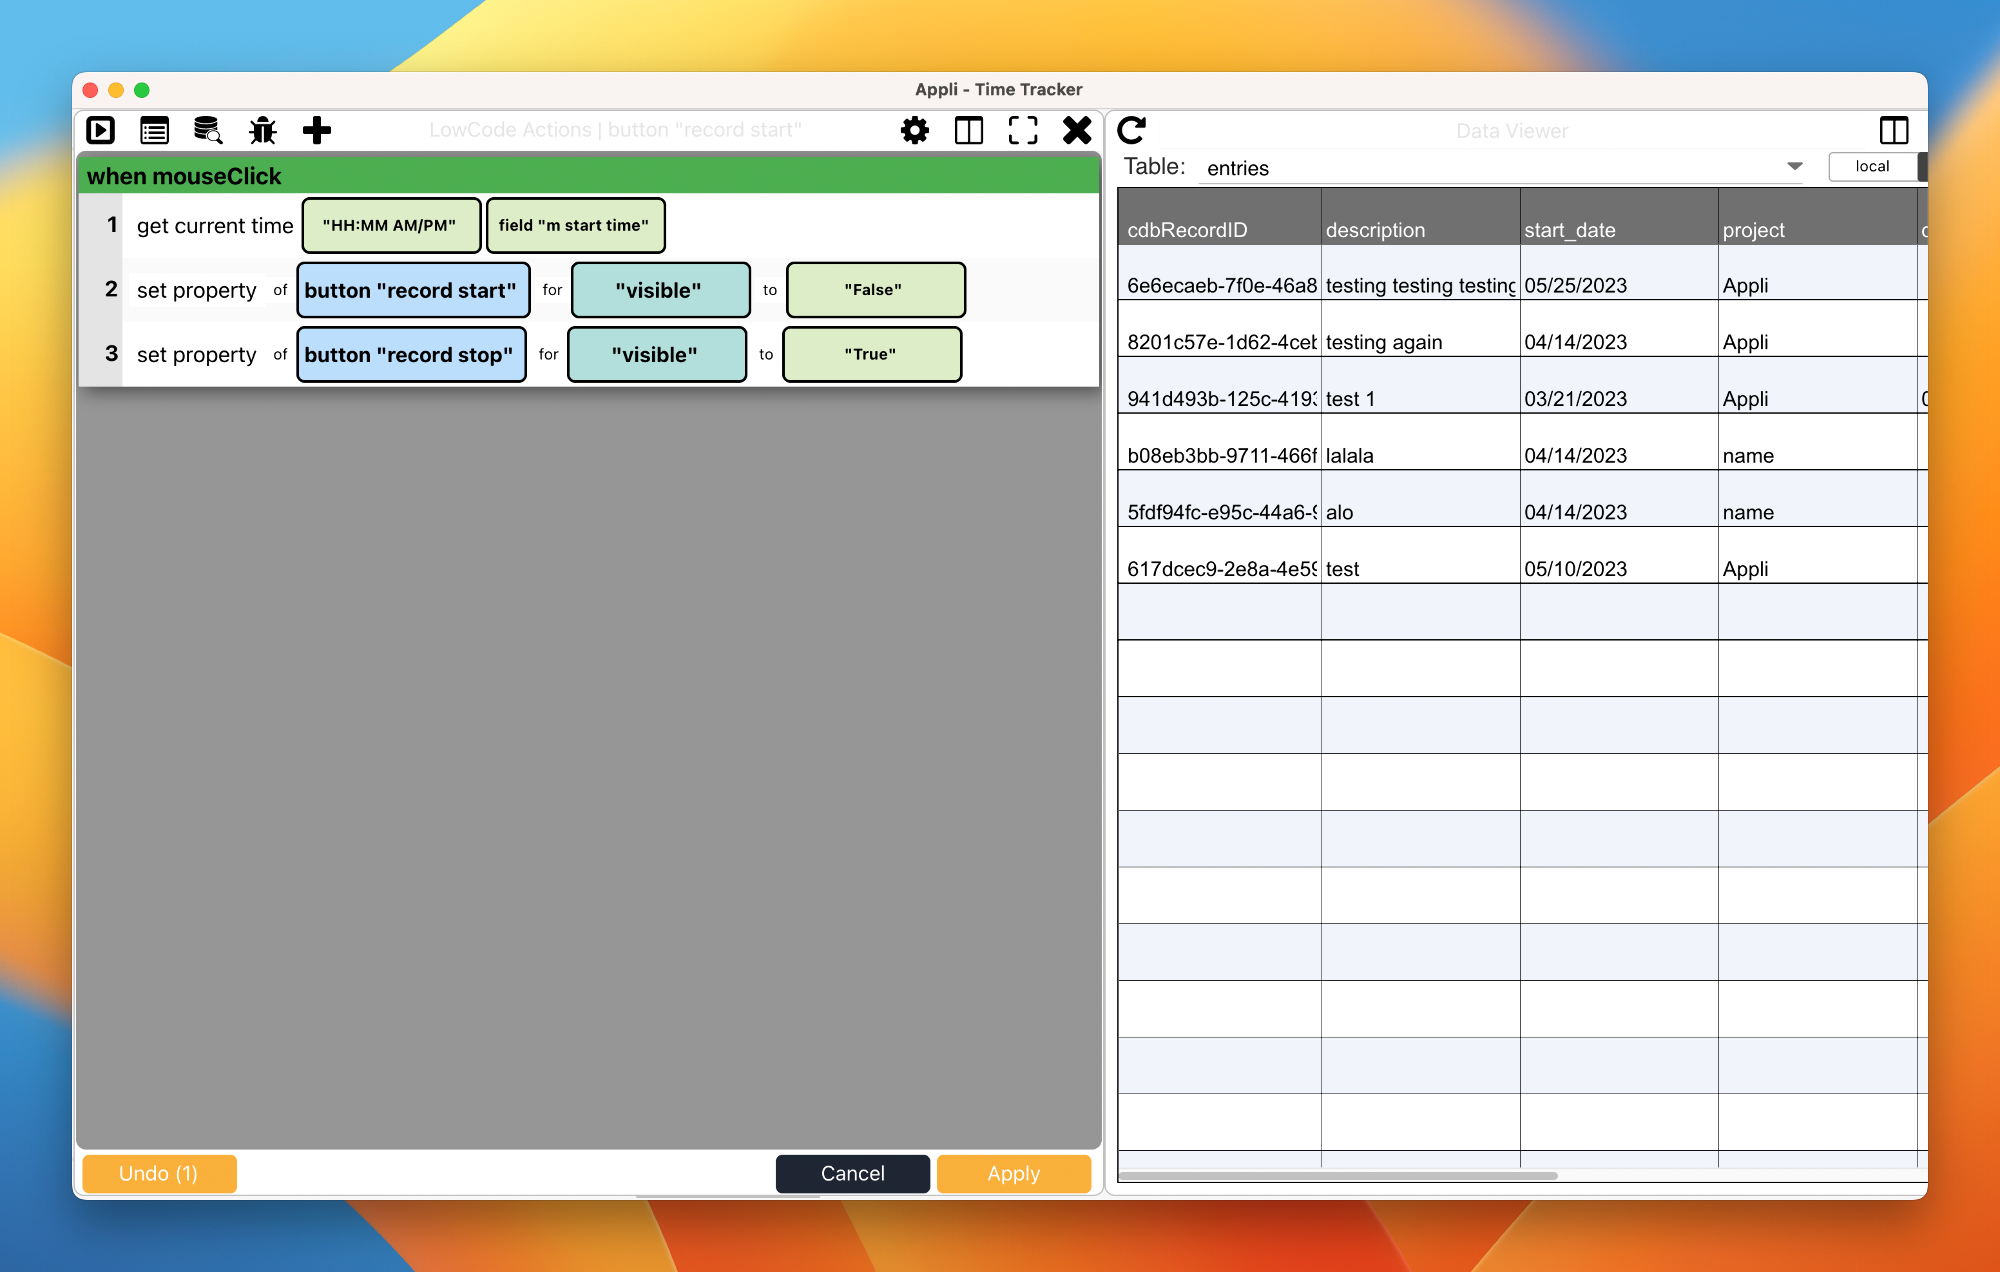
- Data Viewer: Opens the Data Viewer which provides a way to manage your tables and the records contained in them.
- Bug Reports: Checks if your code is bug free and helps you debug it if it is not.
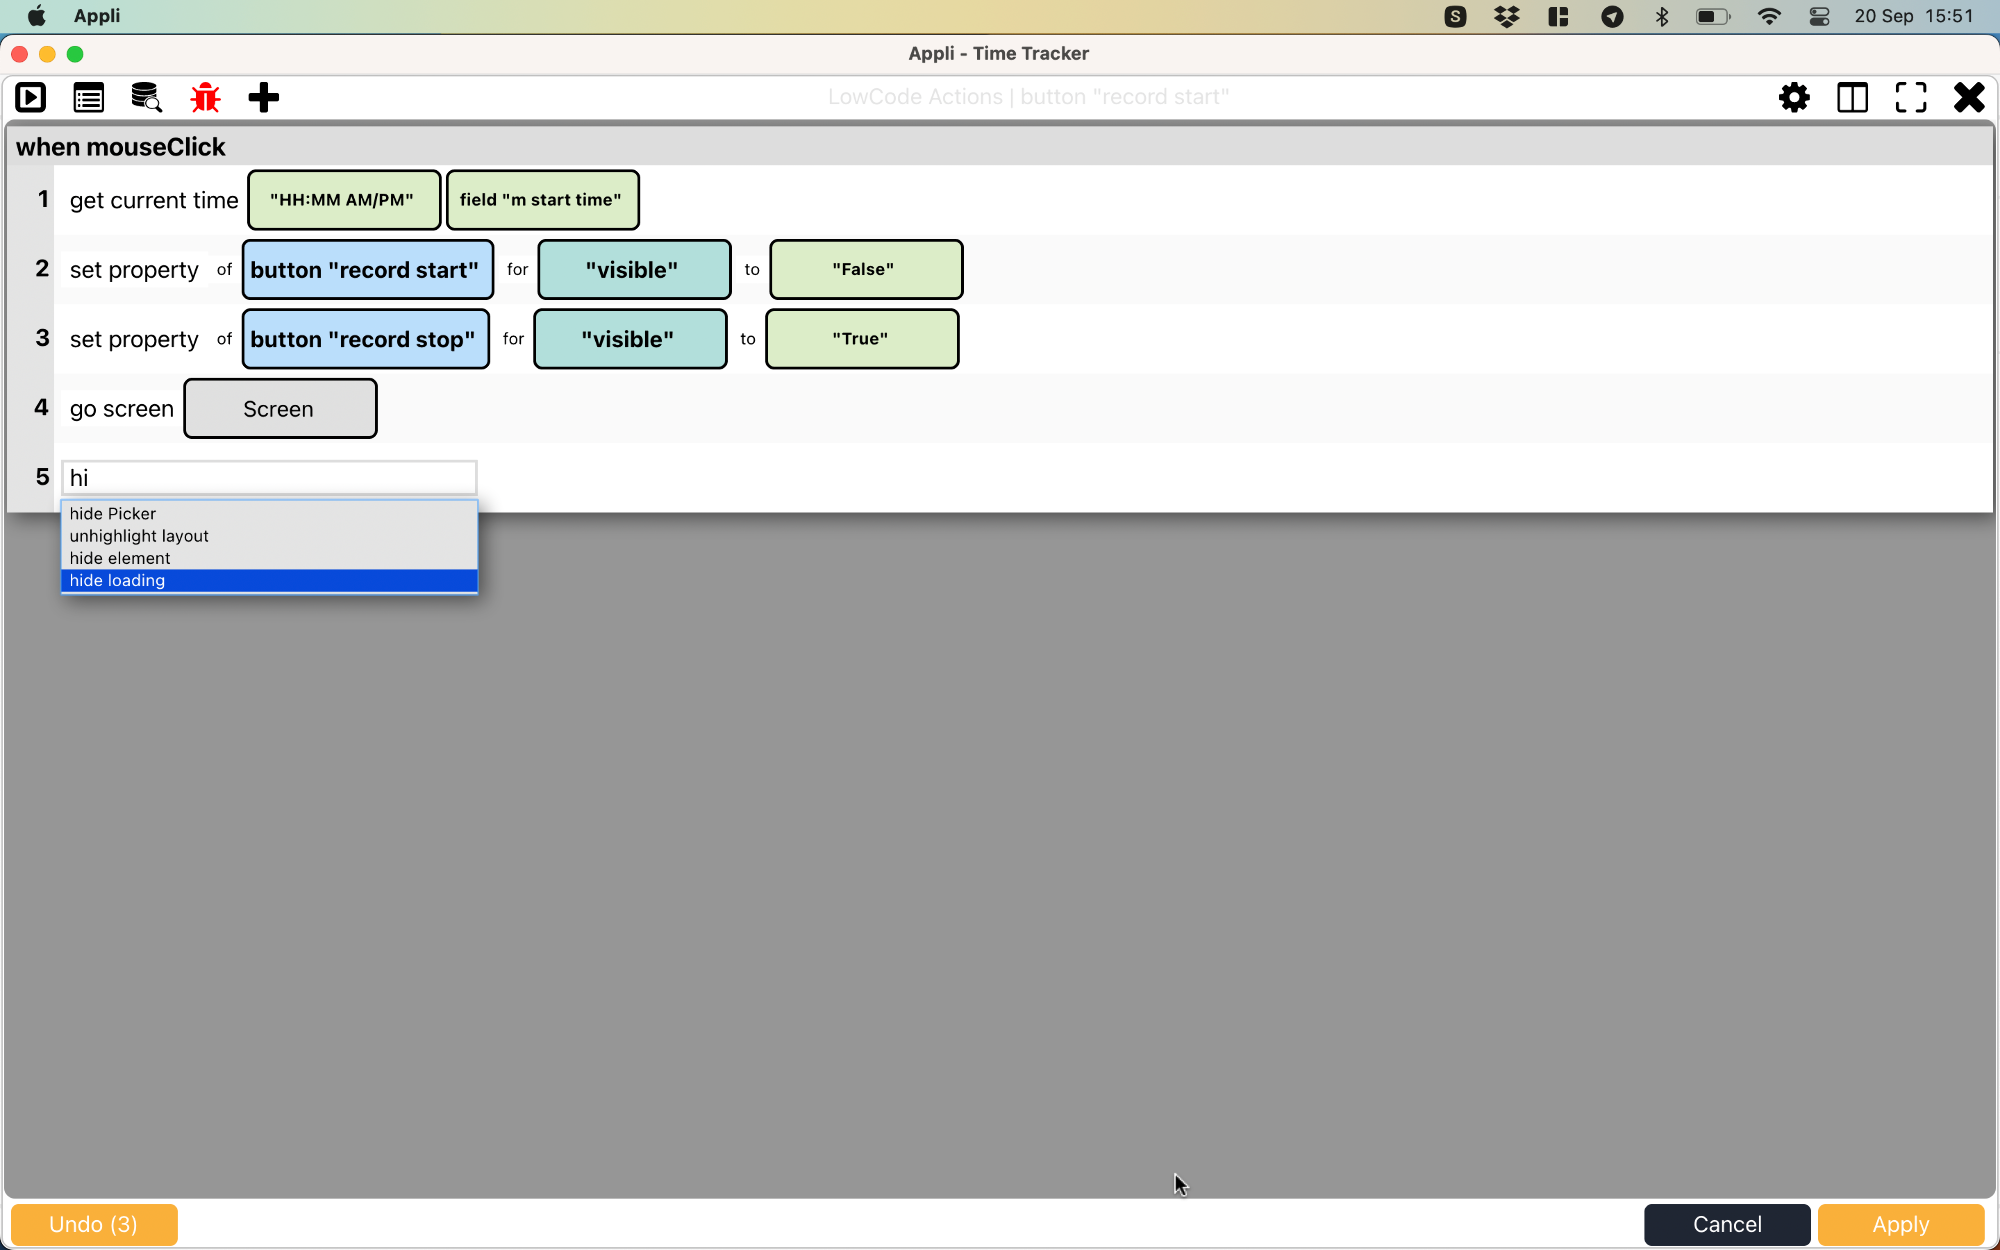
- Add Blank Action: Another way of adding actions to a Low-Code script by adding an empty action and then searching for it.
- Settings: Settings for the Low-Code editor.
- Panel Arrangement: For advanced users, help you arrange multiple panes on the screen.
- Full Screen: Makes the current pane full screen.
- Close: Closes the current pane.
Variable viewer
The button to open the variable viewer looks like a small bullet list. It displays all the current variables, allowing the developer to check their values and change them if needed.
Data viewer
The button to open the data viewer looks like a pile of disks with a magnifying glass. It opens a tool to manage your tables and records.
Bug reports
On the toolbar, there is a bug button. When you hover your mouse on top of it, it will display a quick summary report. This applies only to the low-code script currently being worked on.
If you want to get a project-wide bug report, use the bug button at the footer.
Arrange panes
This dropdown is handy if you have more than one pane open such as the Low-Code editor and the data viewer at the same time. You can automatically arrange their sizes so that they fit either vertically or horizontally.
Adding a blank action
This adds a blank action a the bottom of the script. This is an input field. Start typing the action you want and select the matching action from the pop-up menu. Very handy once you get familiar with actions, no more need to go hunting for actions inside categories.
Next Steps
Debugging action scripts will become easier after you’ve read the next chapter for we’ll explore a powerful new mode in Appli called Debug Mode.
This chapter was last updated on Mon 5 Jan 2026 19:20:23 GMT