The Project Selection Screen
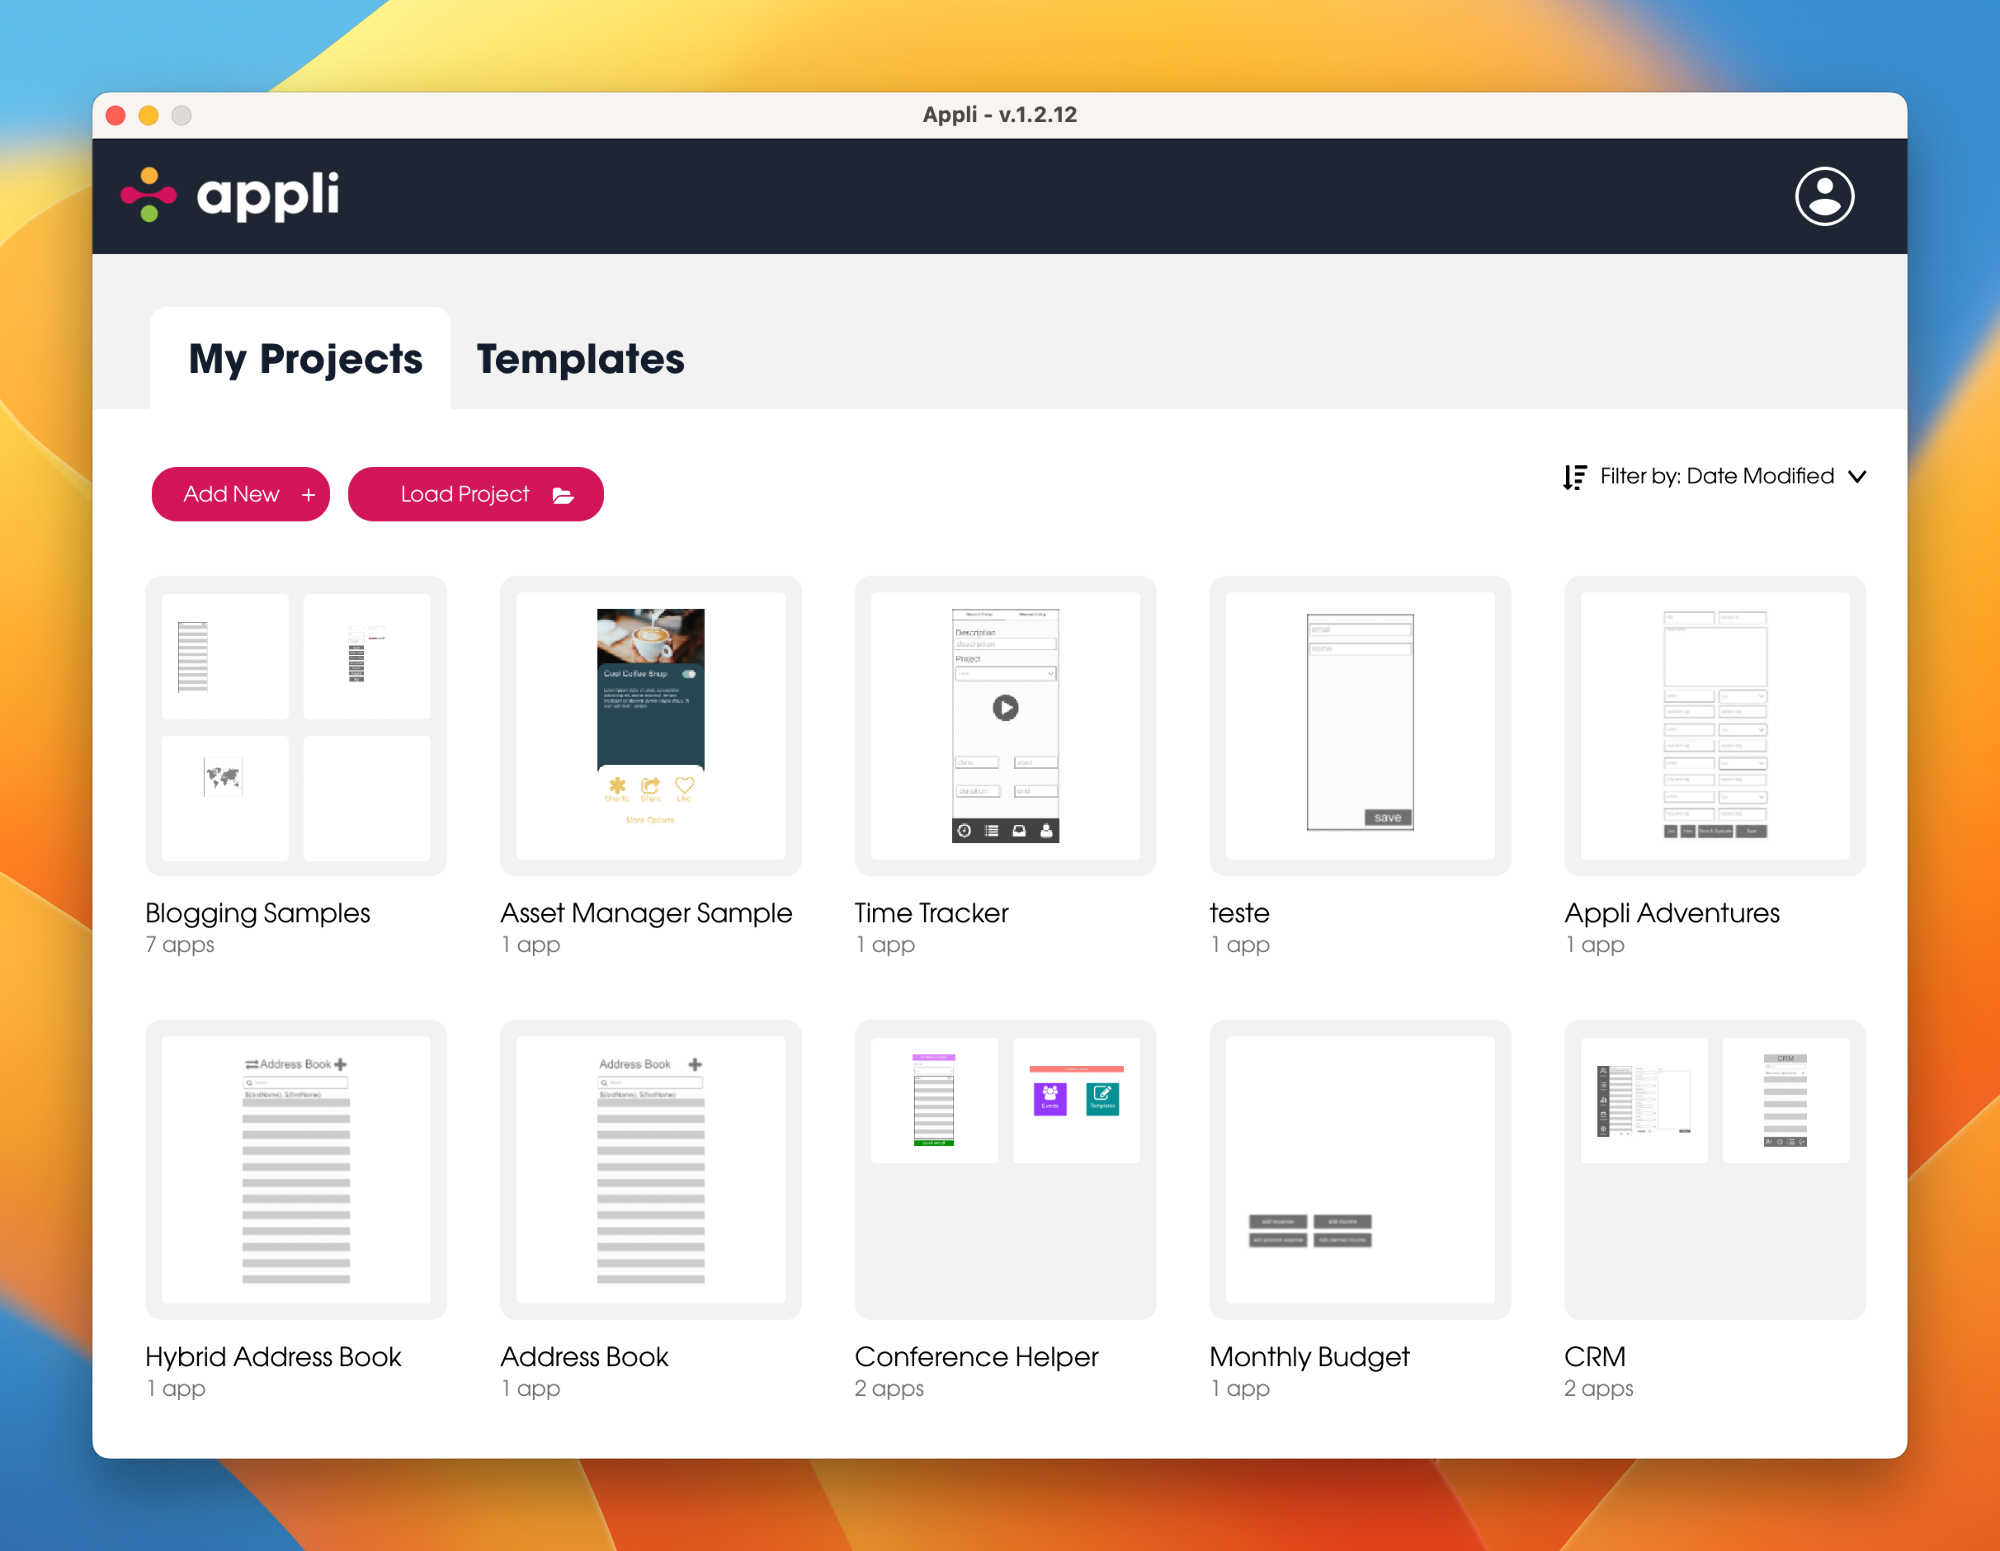
This screen is used to create or open projects. Projects can contain multiple applications. The bottom half of the screen shows your current projects.
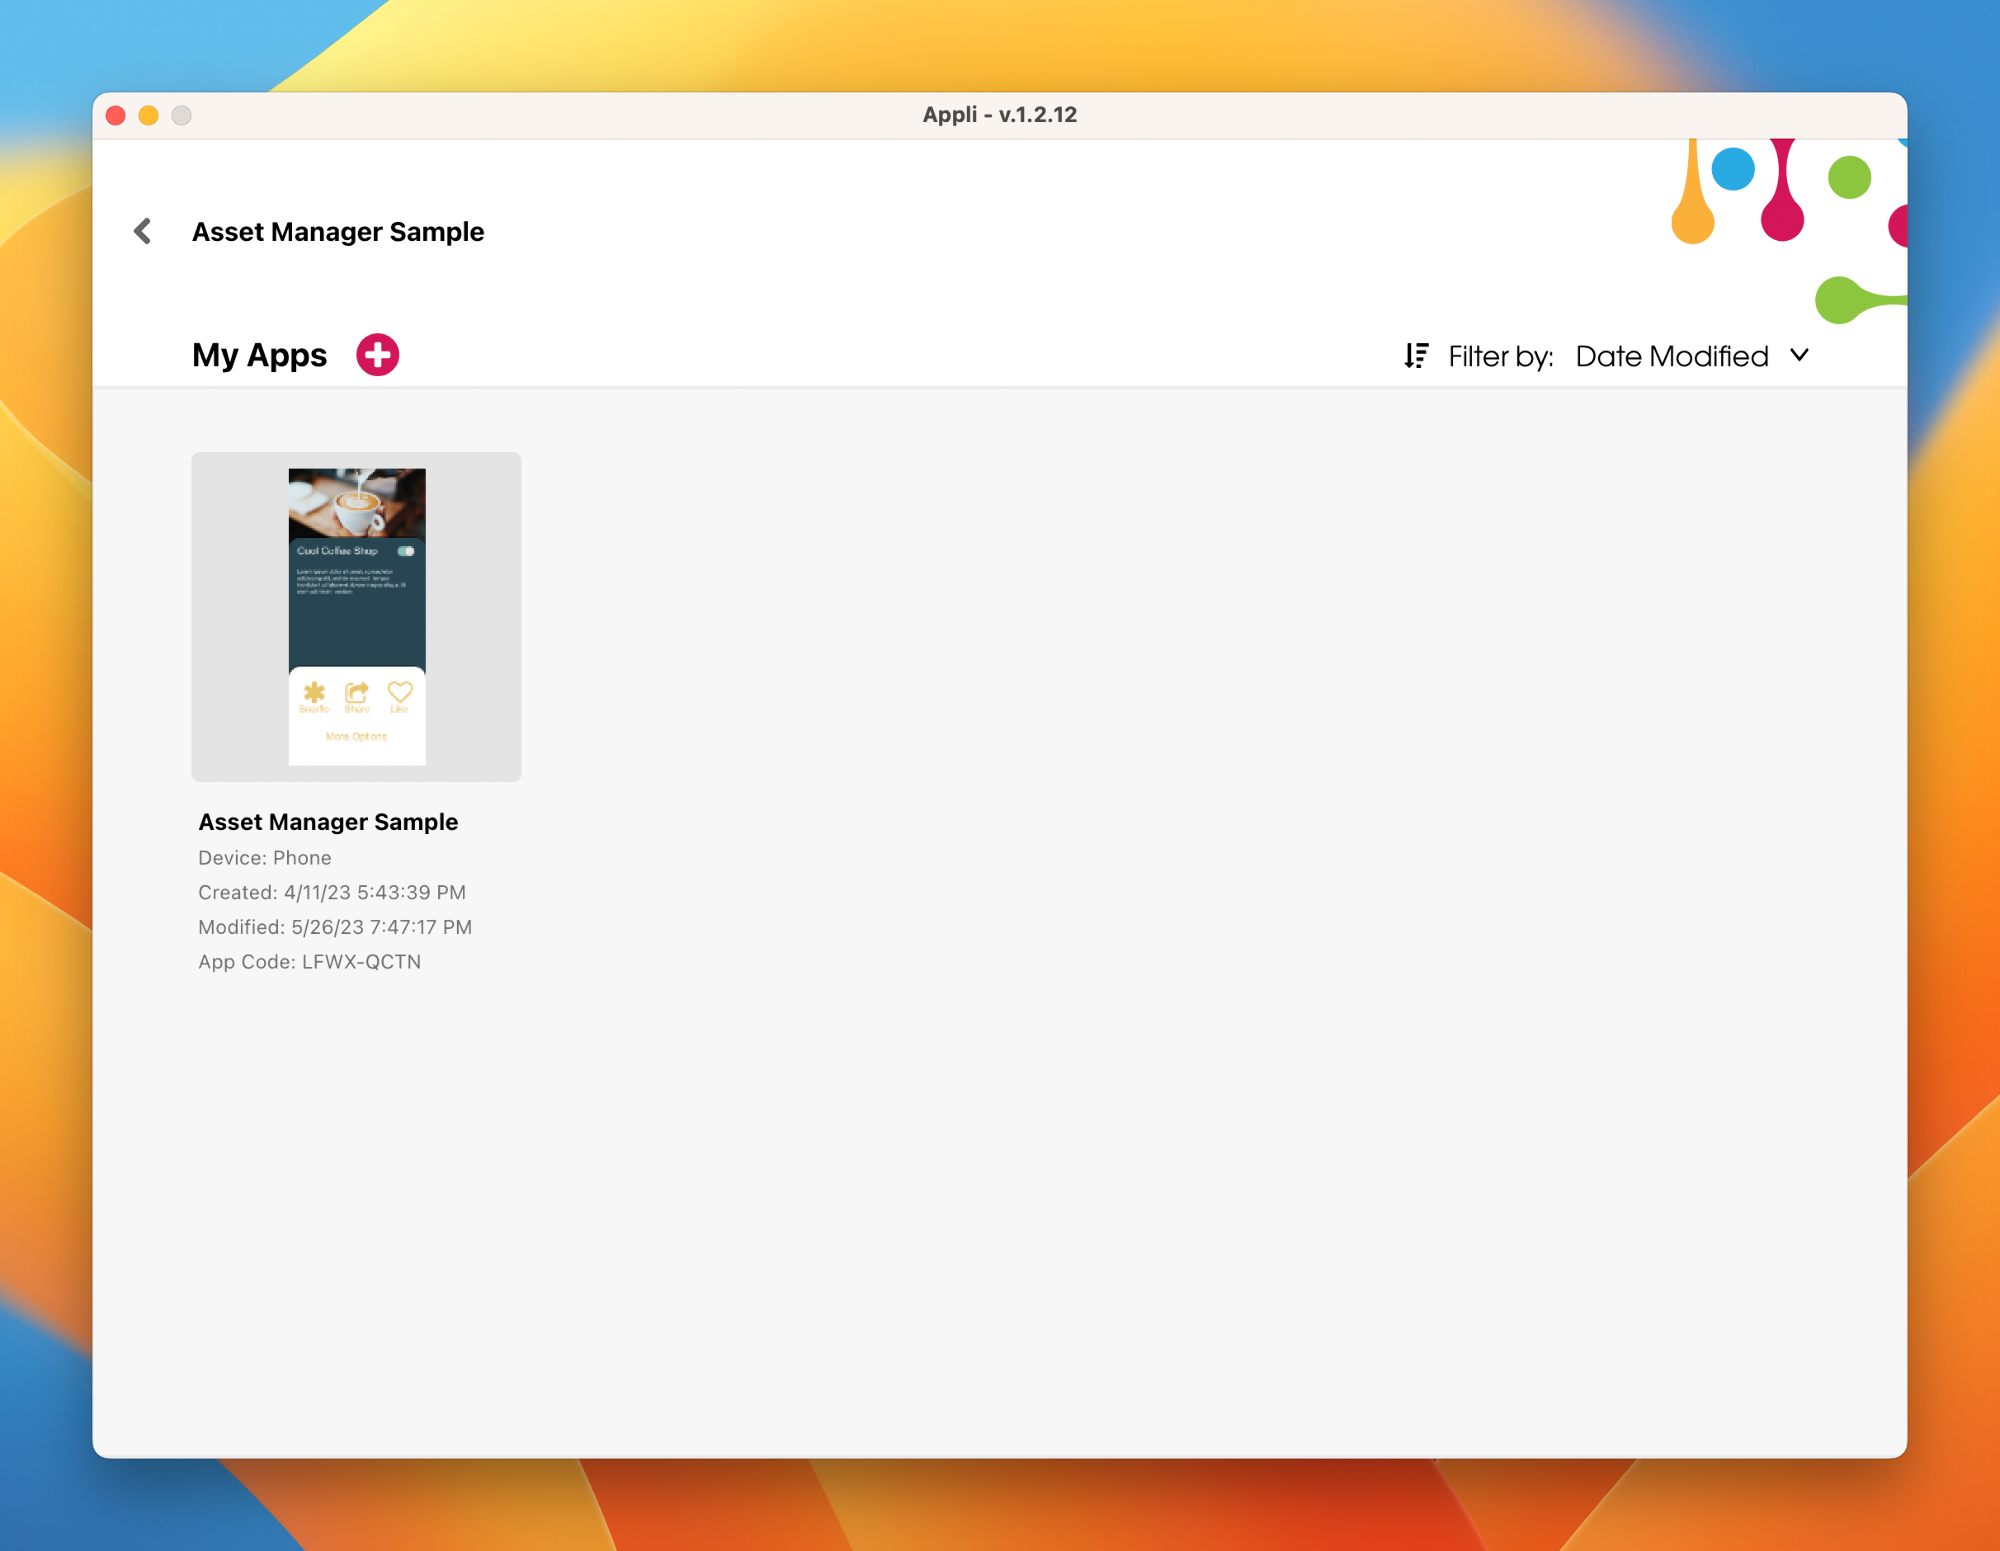
Clicking on an existing project lets you select which application from that project you want to open in the Playground. To change how your projects are listed, use the Sort dropdown on the right side of the project selection area.
Creating a project
Use the plus button next to My App Projects label to create a new project.
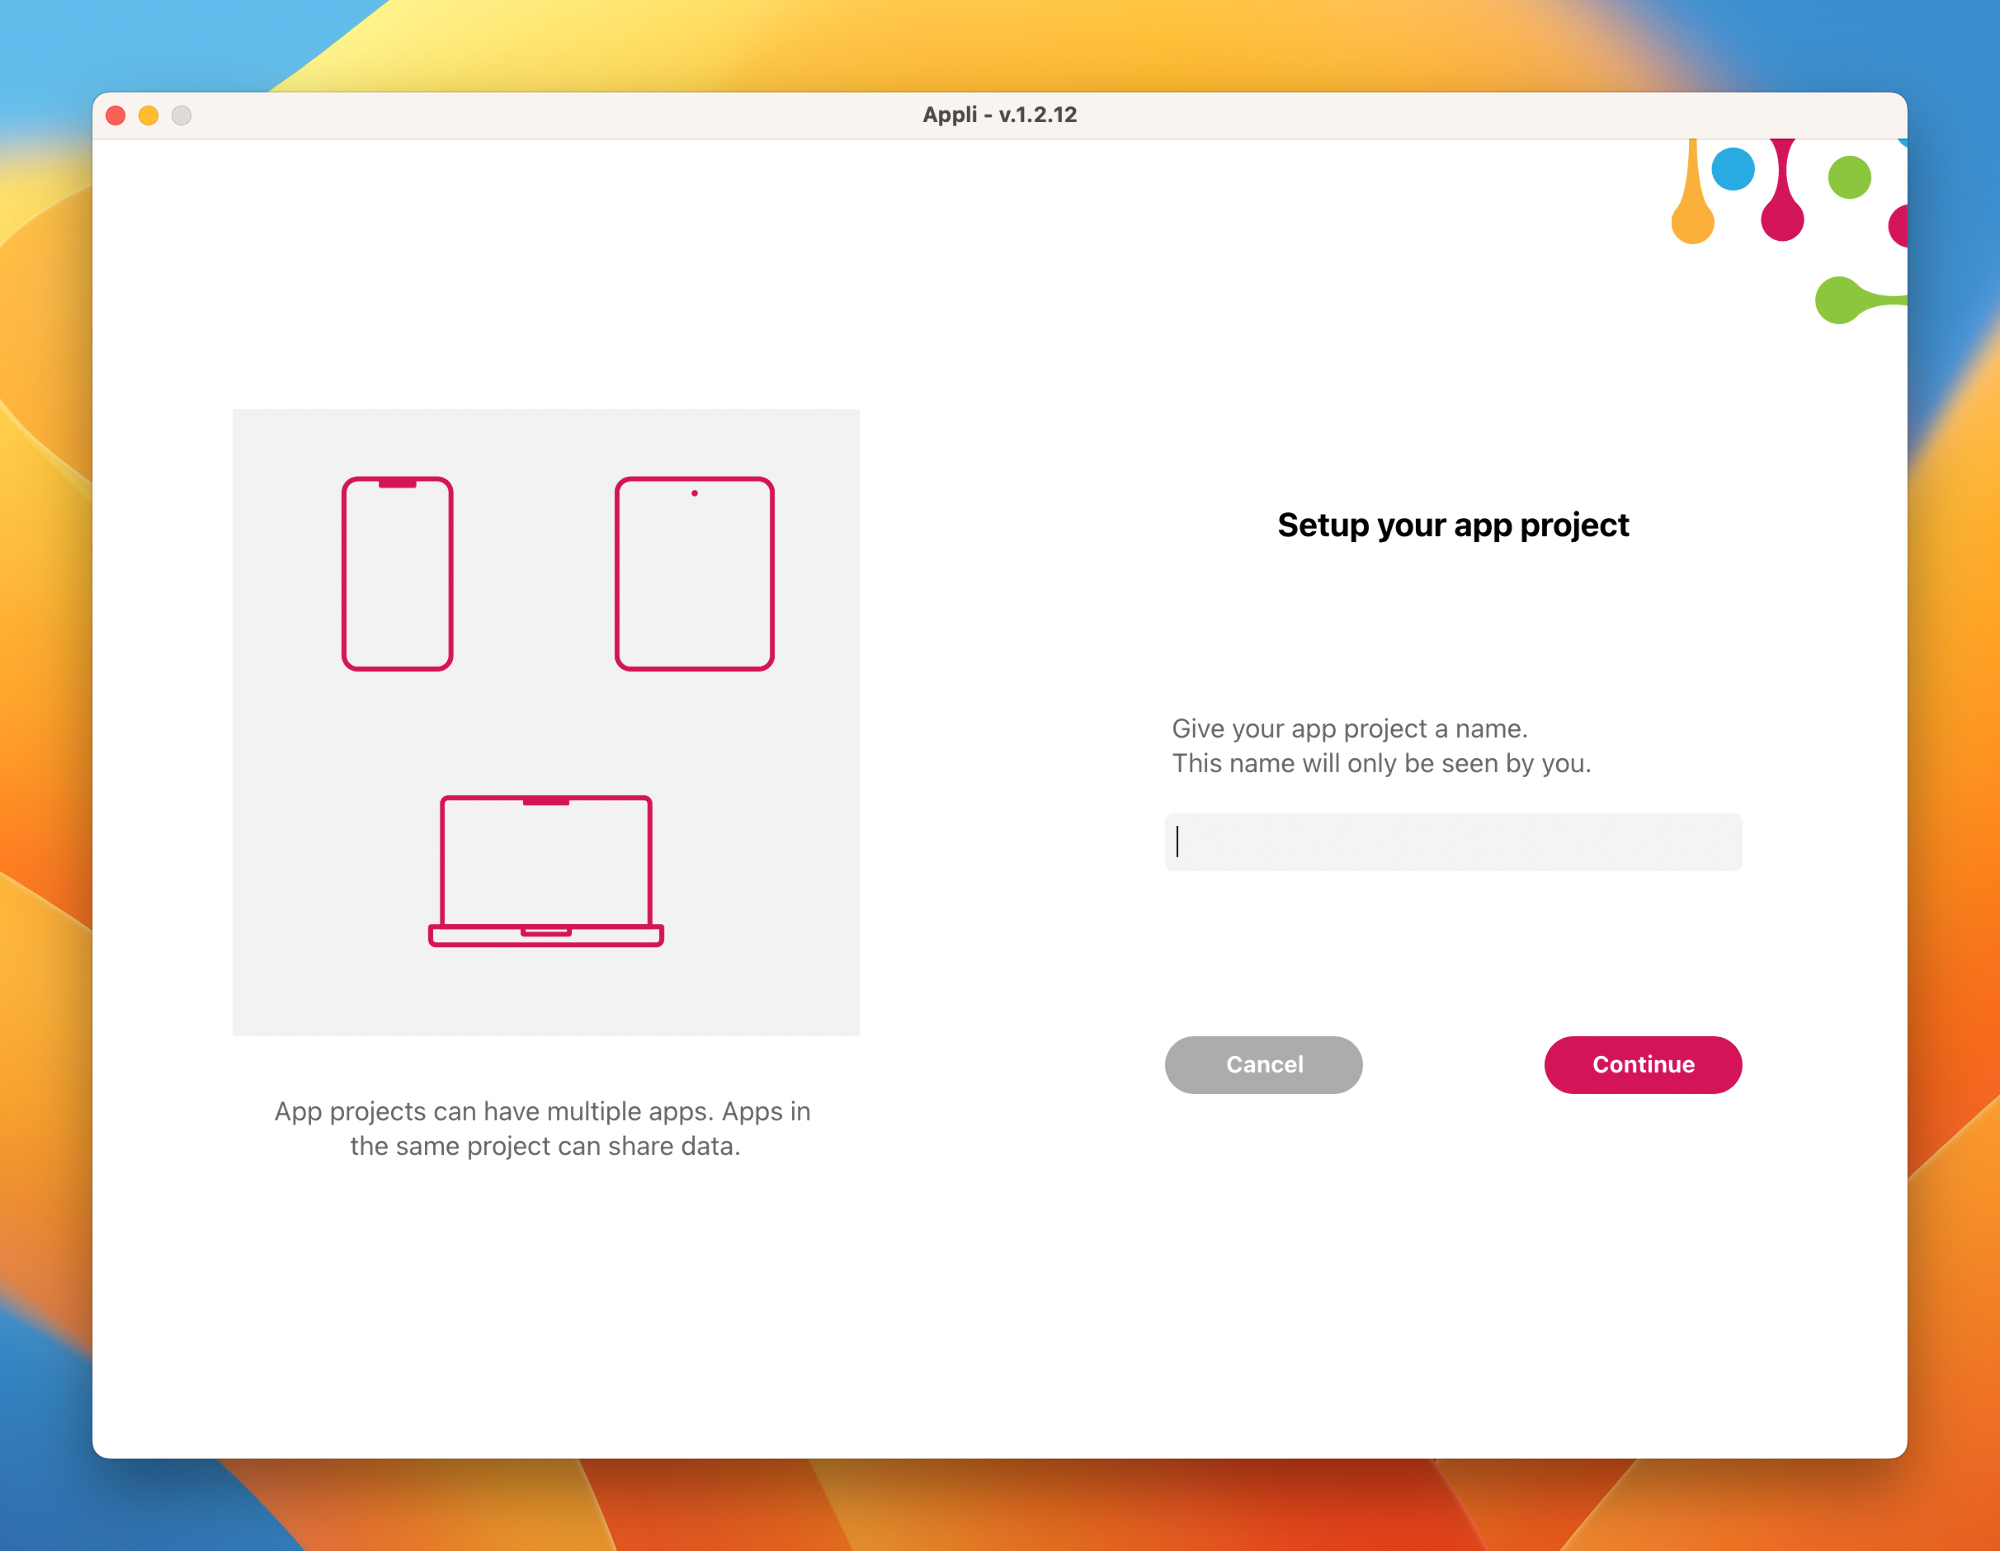
Once you give the new project a name, choose a platform for your first application on that project. You can have many applications per project. This allows you to support many platforms. You can add more platforms later.
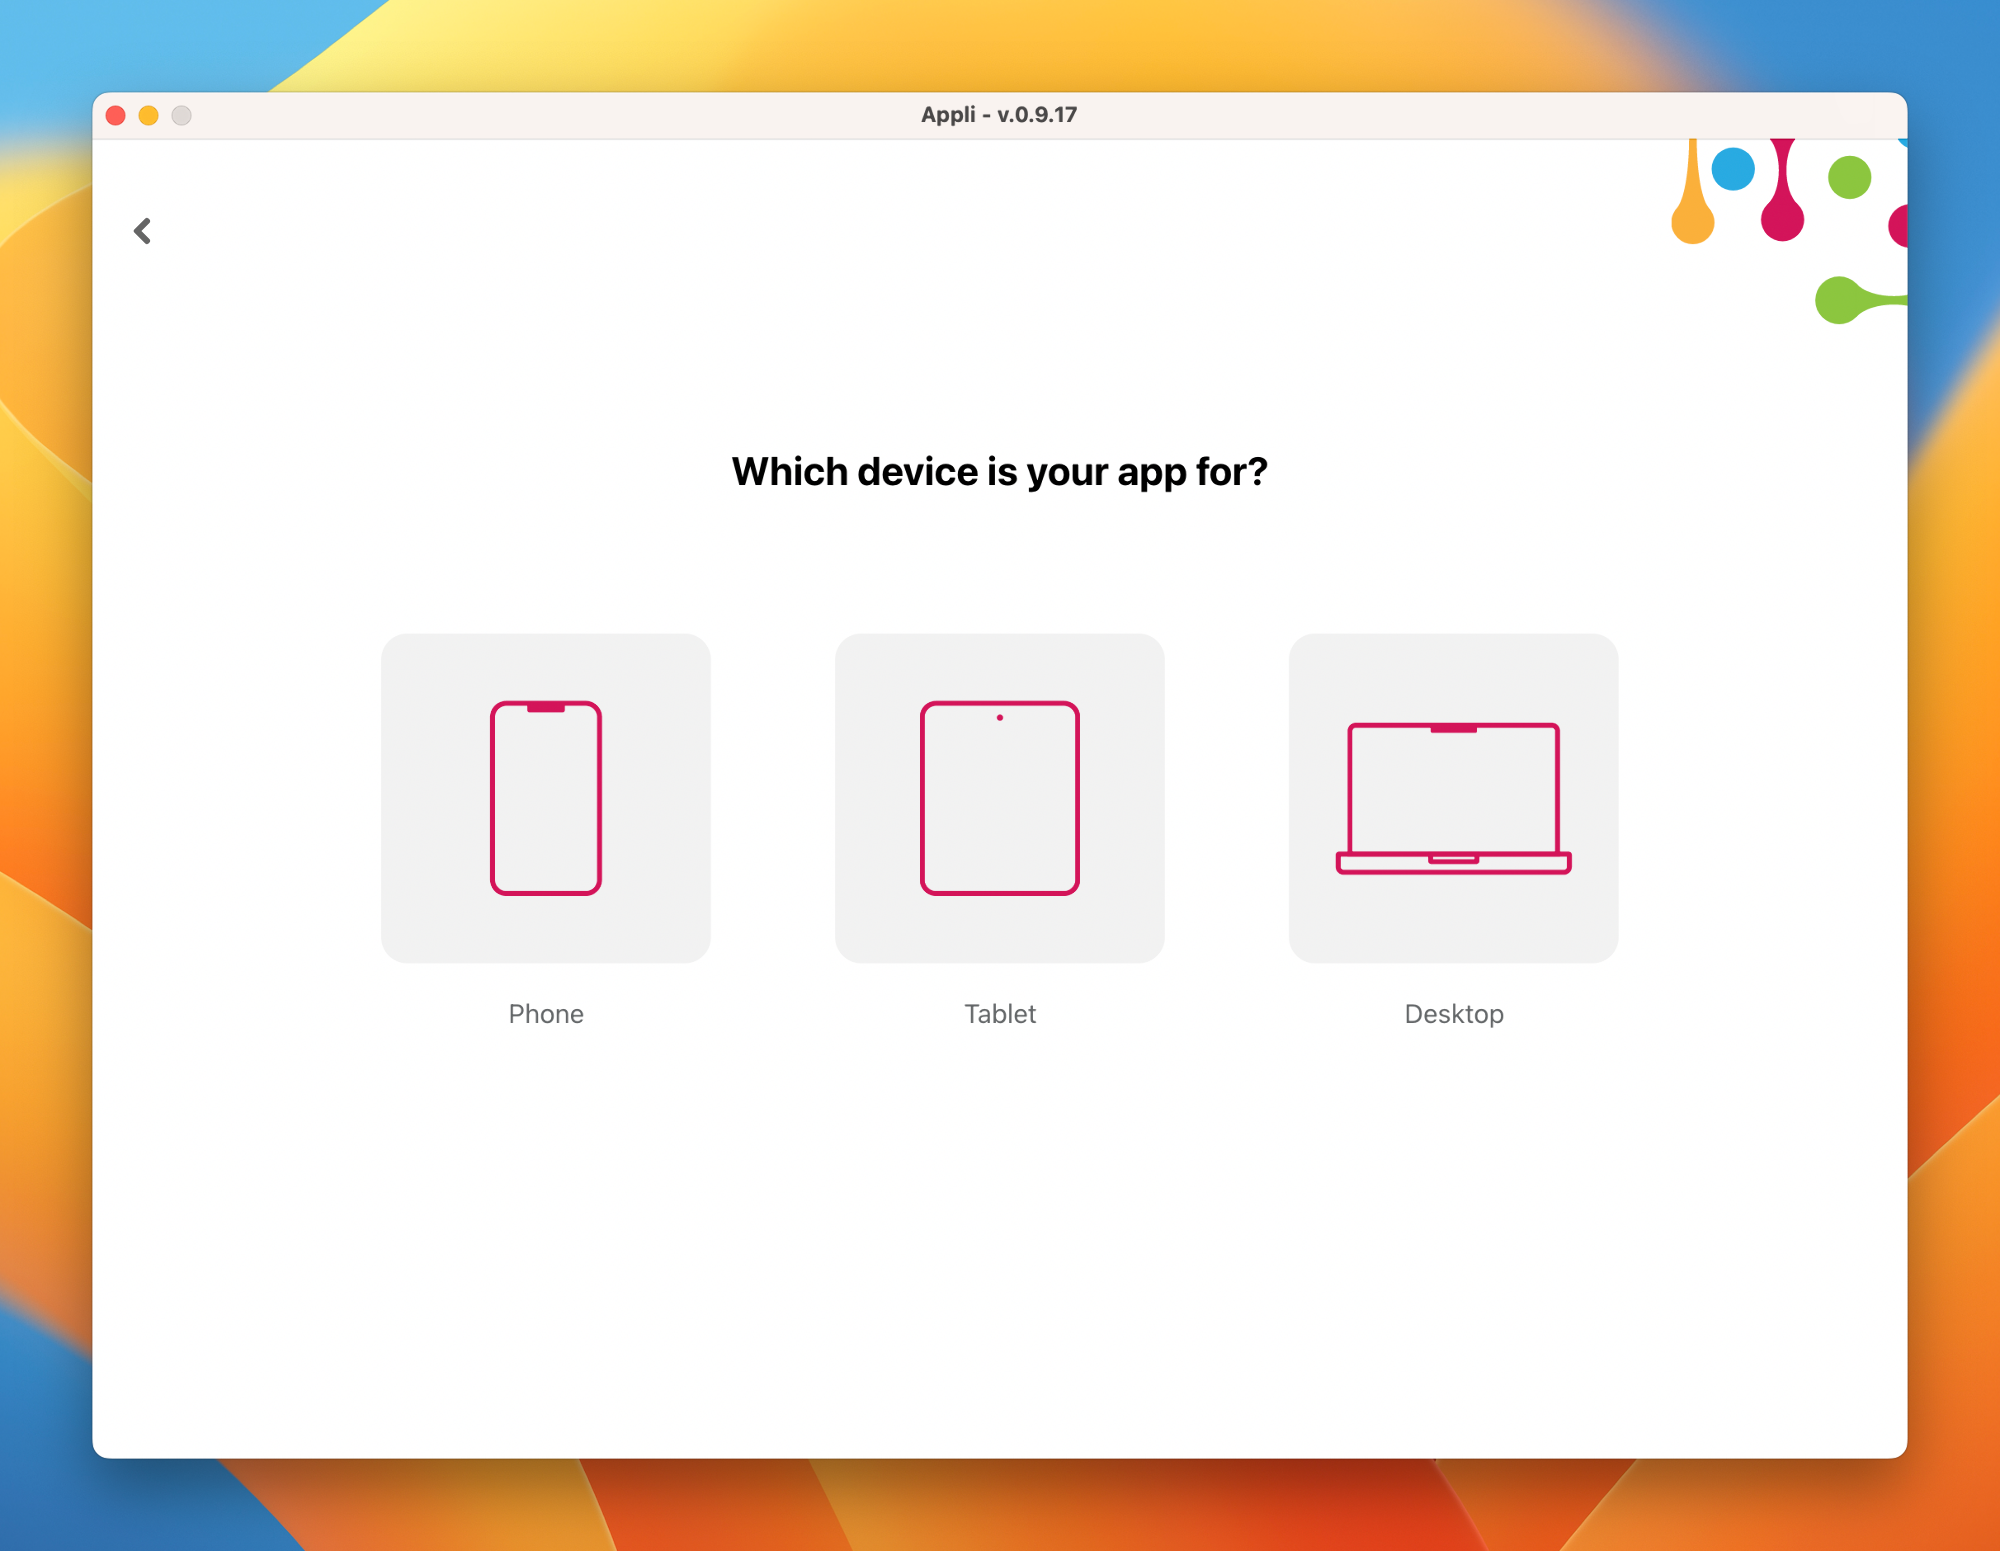
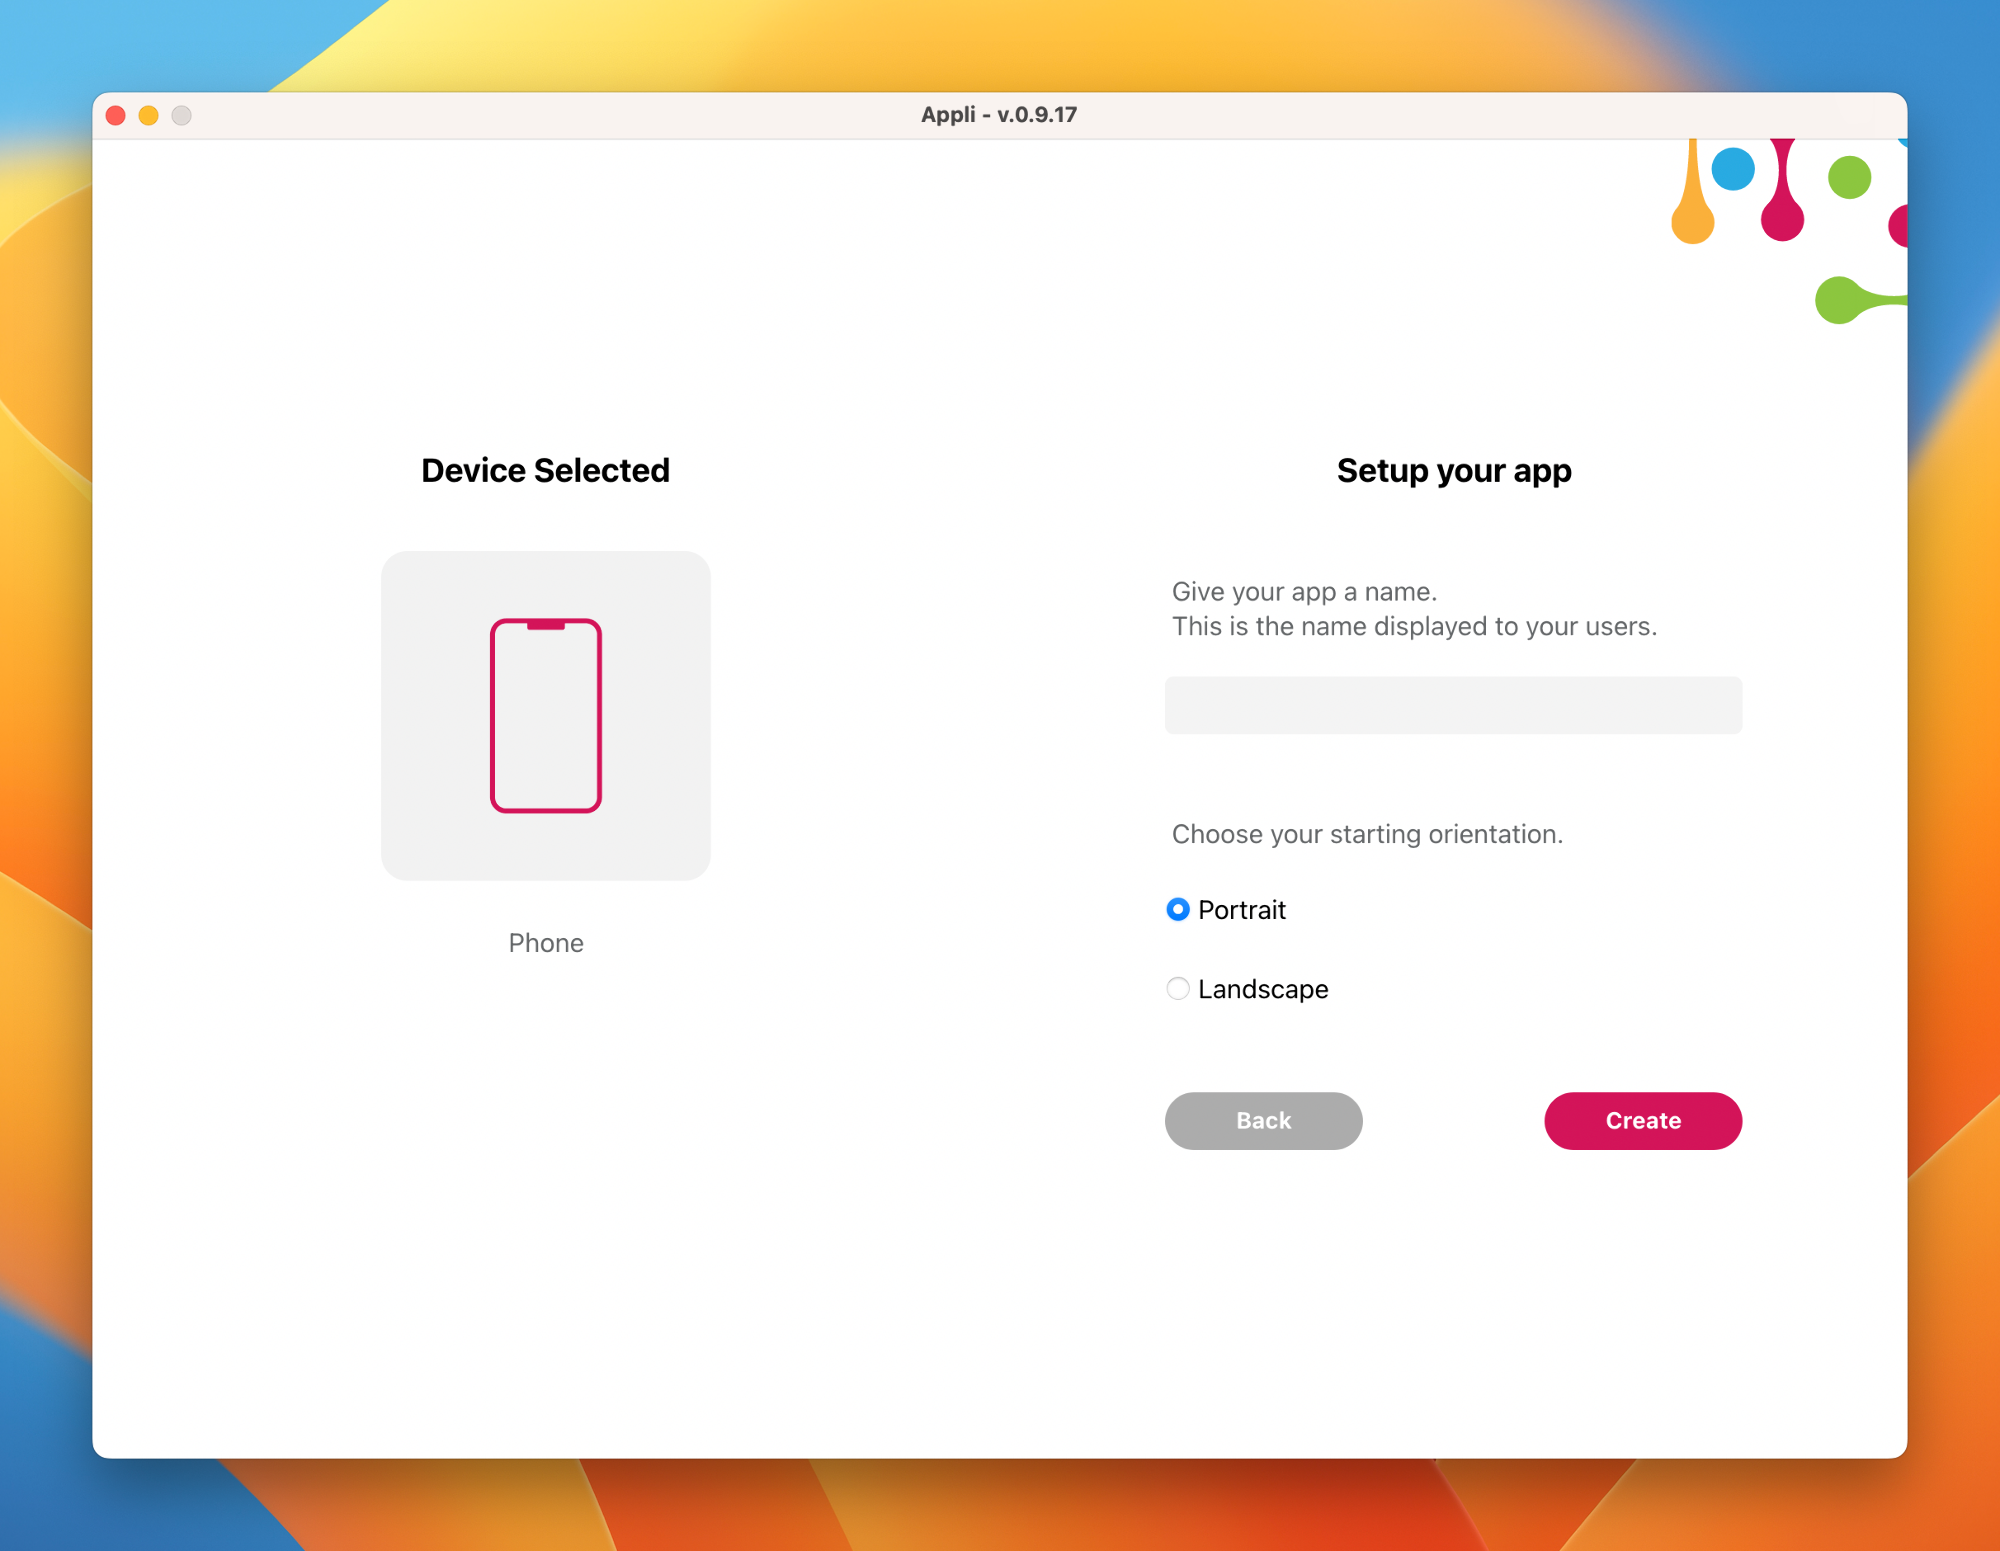
After clicking on a platform, Appli Builder displays a dialog allowing you to set the new app’s name, and the initial orientation.
Once the project is created, Appli Builder will load the new project into the Playground.
Saving a project to disk
Saving a project to disk is easy, just click the three dots button next to the project name and select save to disk in the pop-up menu.
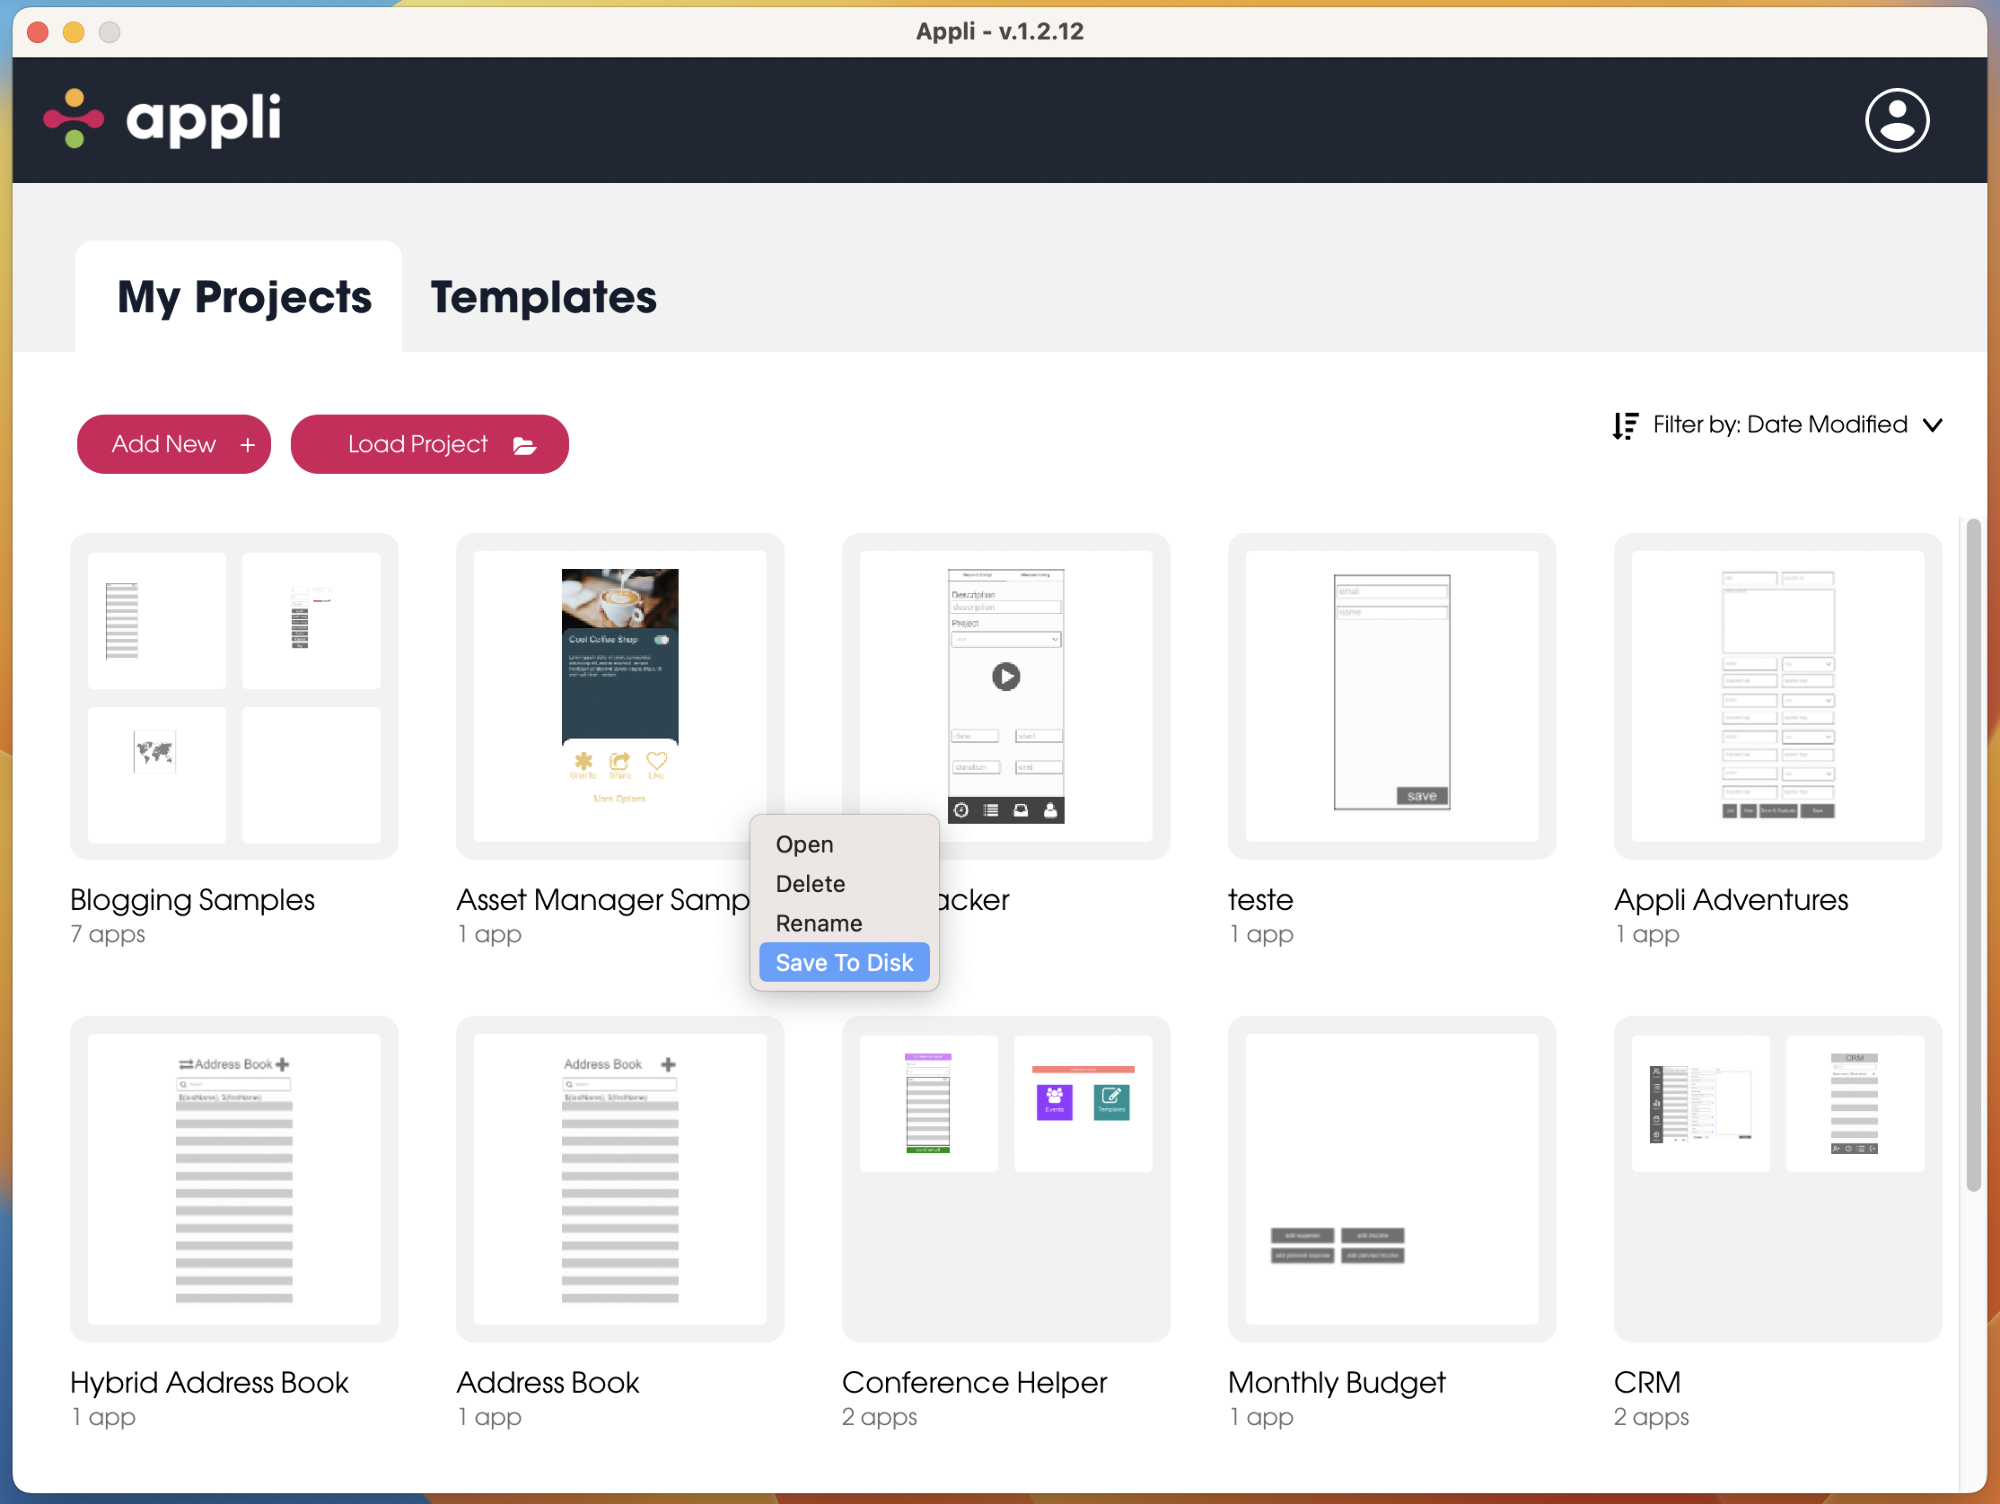
Appli will ask you if you want to save the project using a password. If you do that, only people with the password will be able to open it.
Opening a project
Use the open folder button (just next to the plus button) to open a project file. If the project was saved using a password, you’ll need to enter it before being able to import the project.
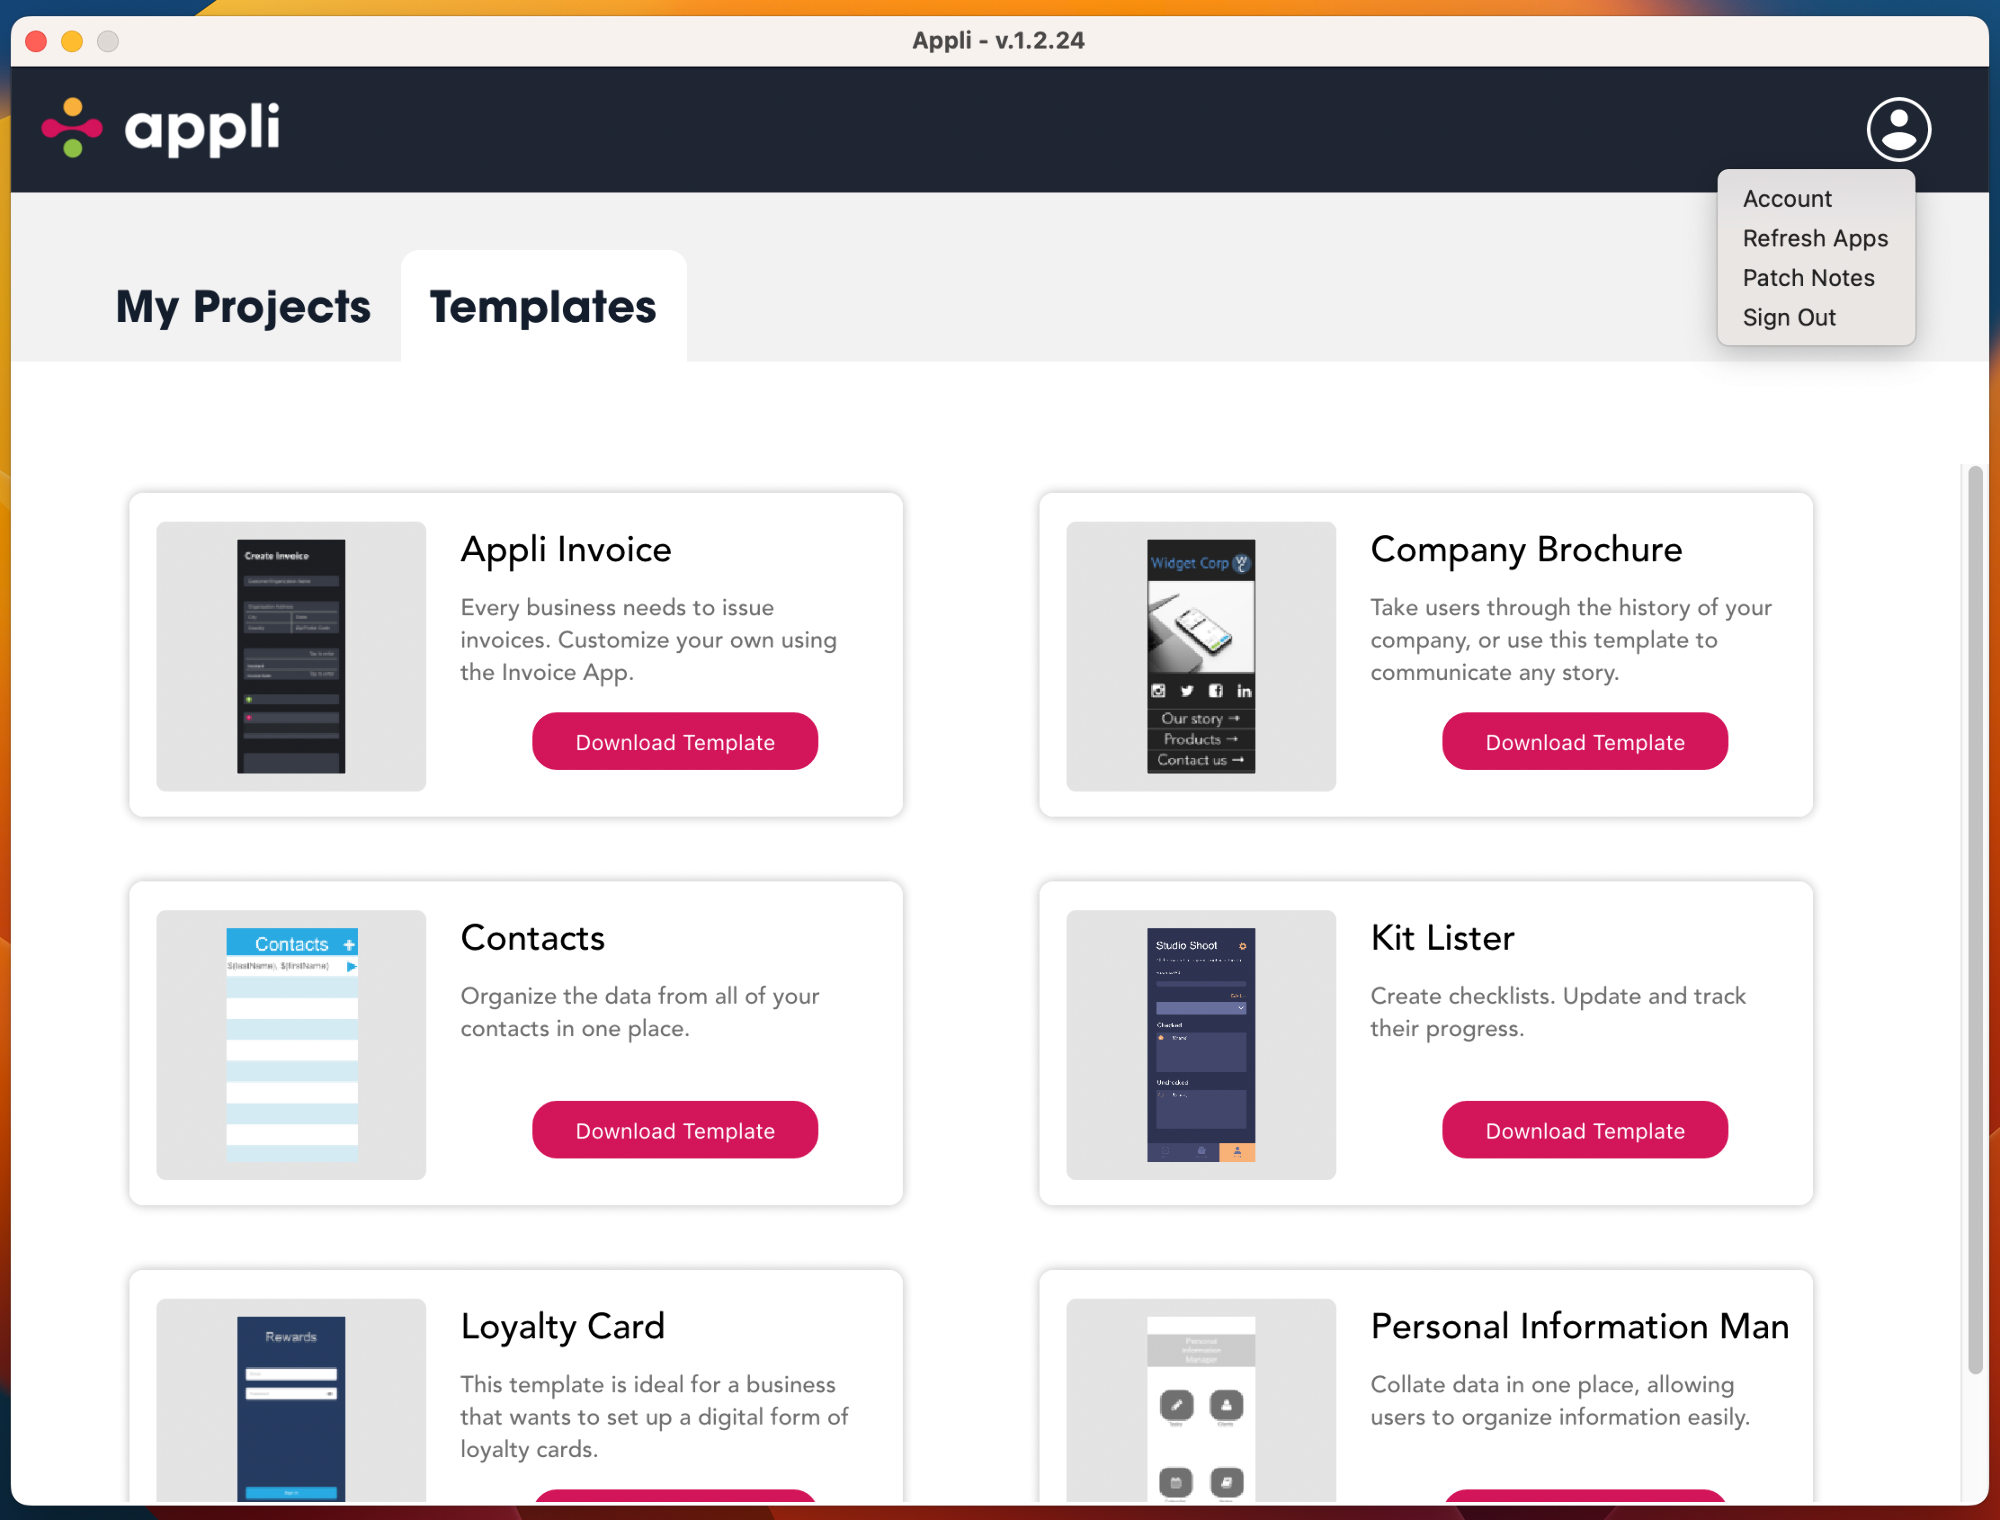
Templates
The templates tab gives you access to ready-to-use applications from our sample code collection. They are a great way to learn how to use Appli.
The account menu on the top right corner can be used to go back to login, check the patch notes, and refresh the projects and templates listing.
This chapter was last updated on Thu 27 Jun 2024 15:59:25 BST